3.4 Swapping my '91 Rodeo

Hey all, glad to be over here on the new forum free from the vile corporate creatures. I had just started this thread on the old forum right as the final meltdown begun, so unfortunately this thread is gonna be a little chopped up and missing messages as I transfer it over here.

Anyways, back to the beginning, copying this over…

As the title suggests, preparing to do the 3.4 swap on the ol Rodeo. Been considering the swap for a while, and my poor old motor decided it was finally time…

RIP my old motor-
I was maybe driving a wee bit spiritedly, and somewhere close to redline there was suddenly a rather undesirable noise, followed by continued bad bad very bad noise. Despite the cacophony of noise and a sudden drop in oil pressure, it was still running ok, so I decided this was an acceptable night for this motor’s final drive annnnd just kept driving. I limped it all the way home, still running fine surprisingly.

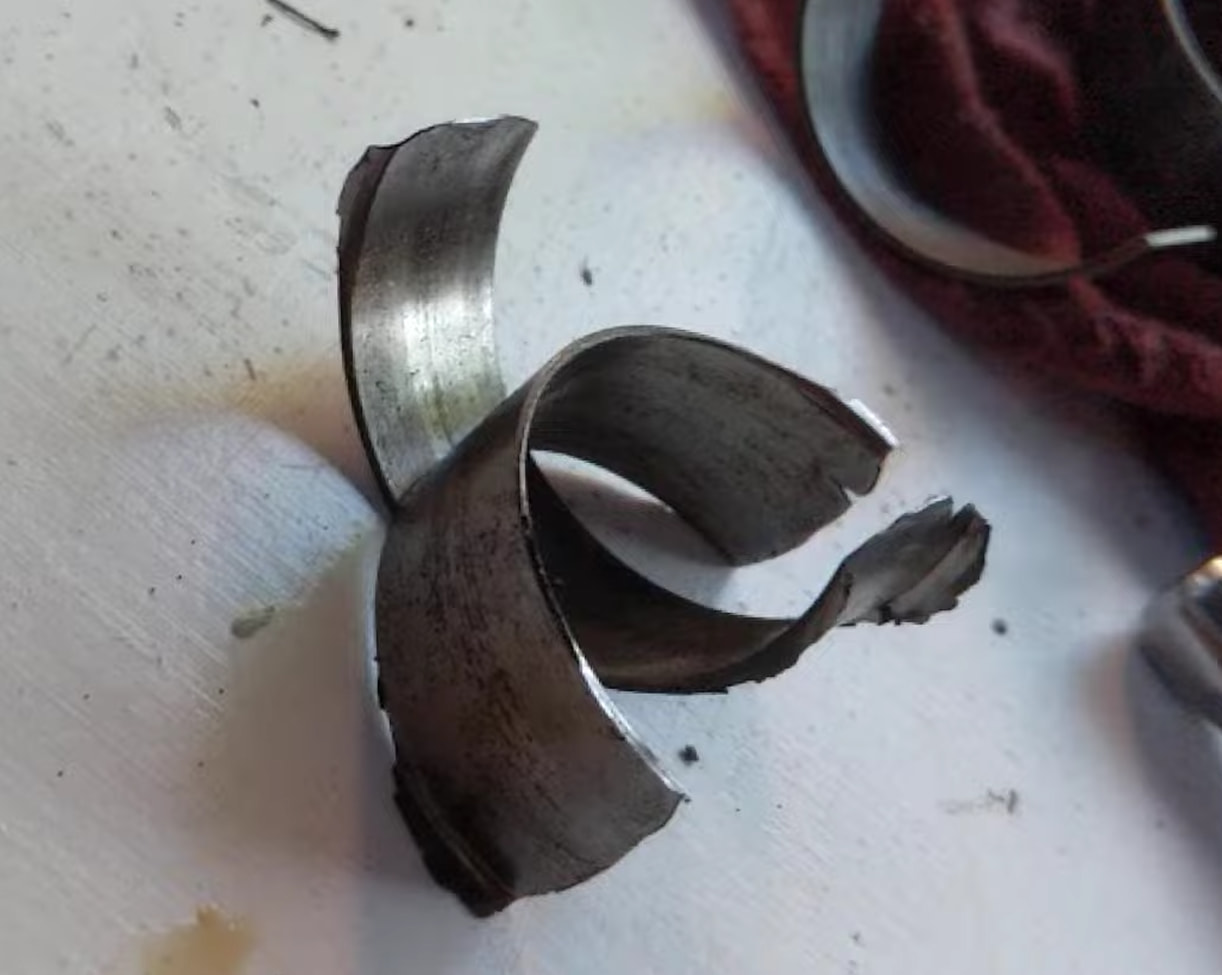
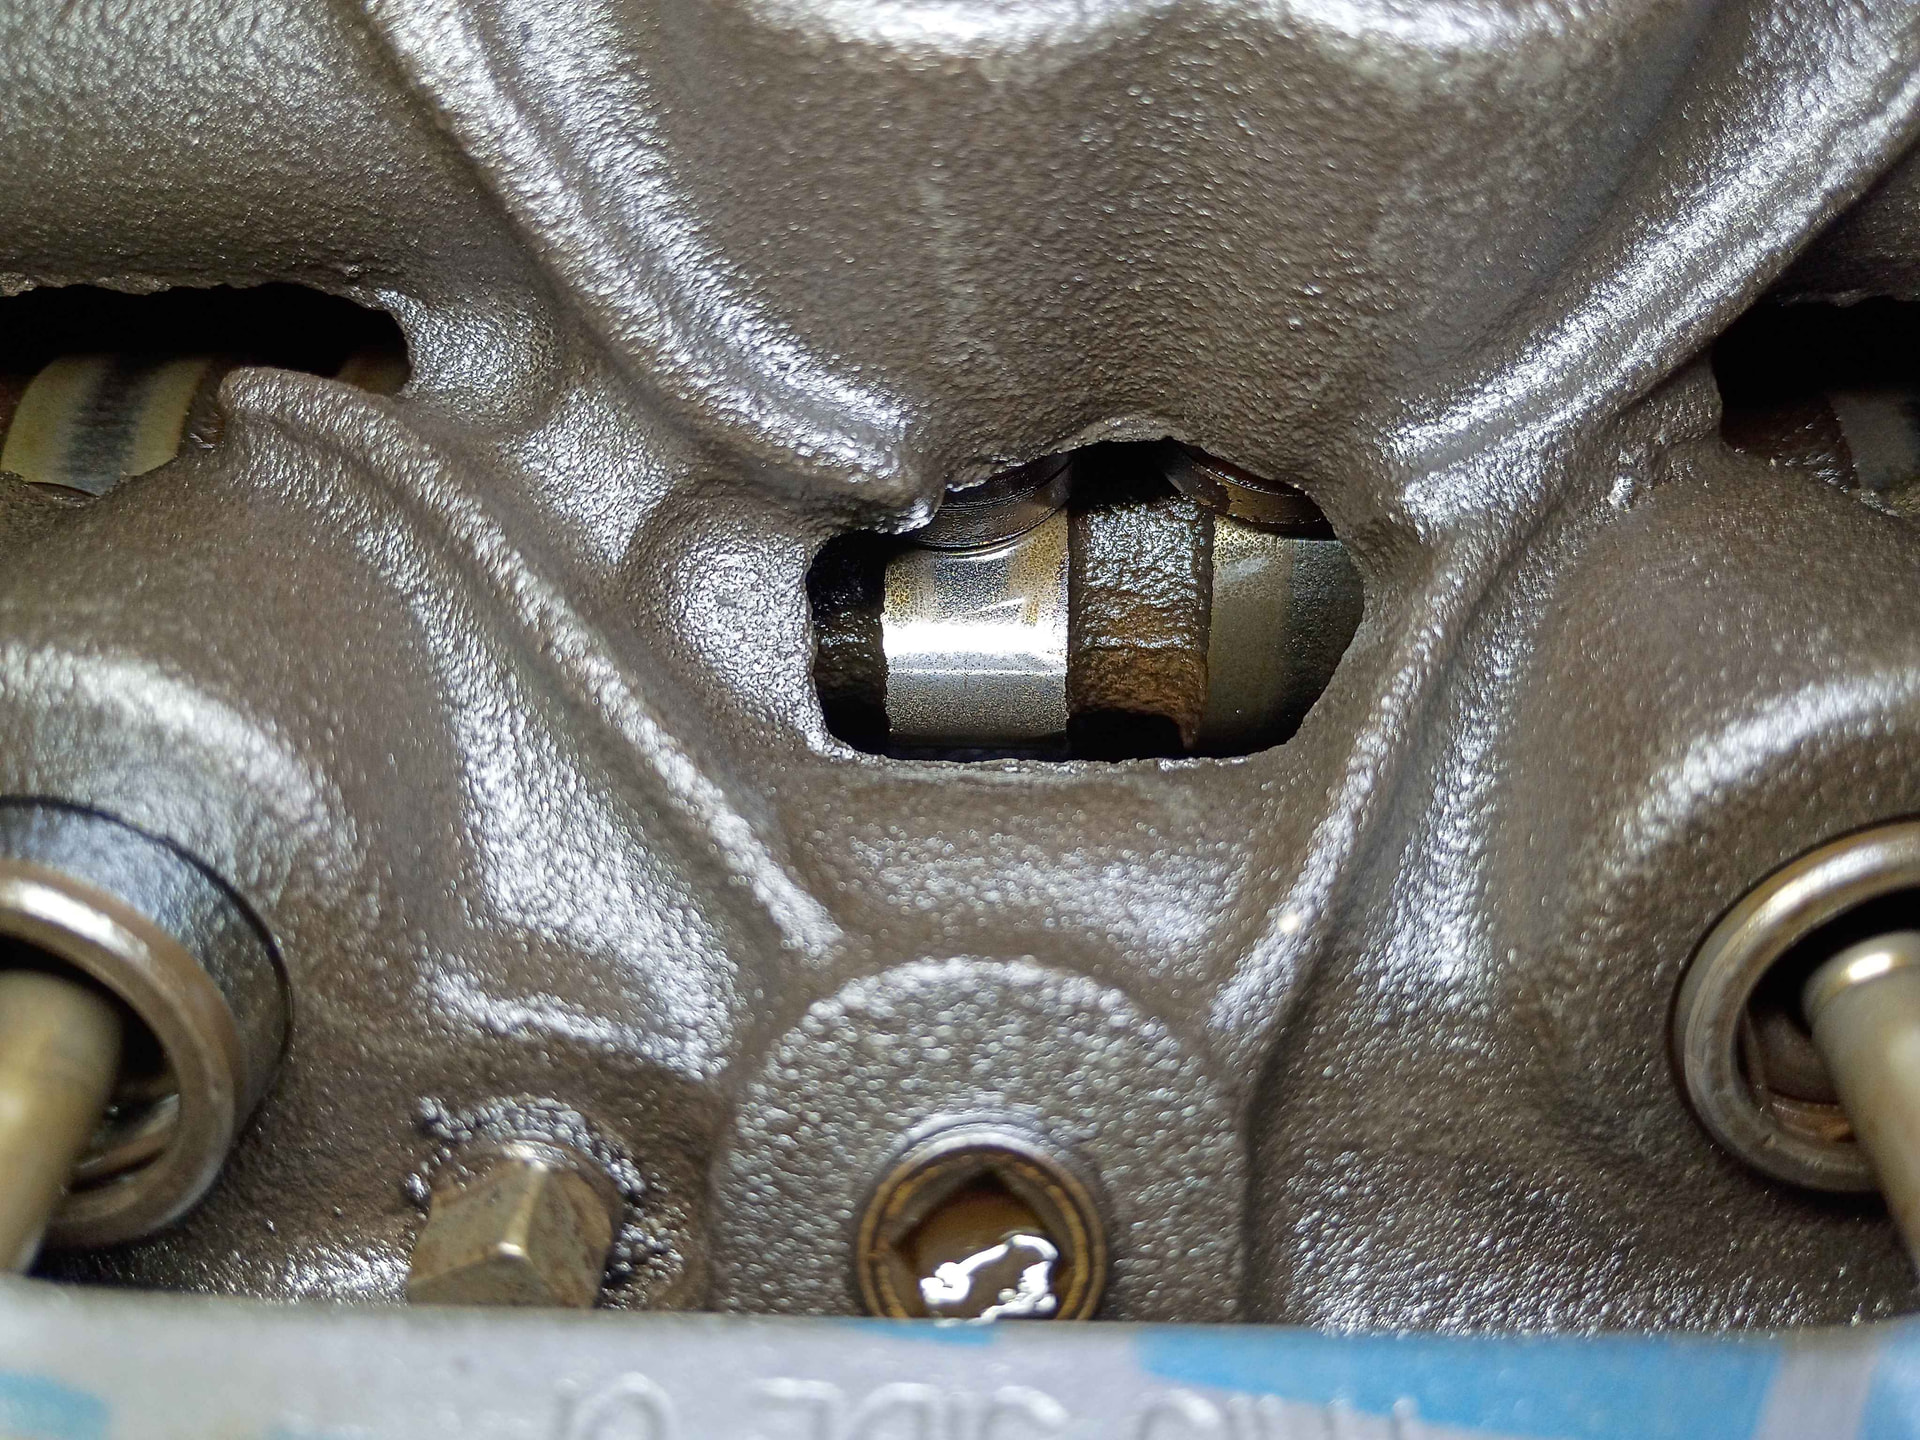
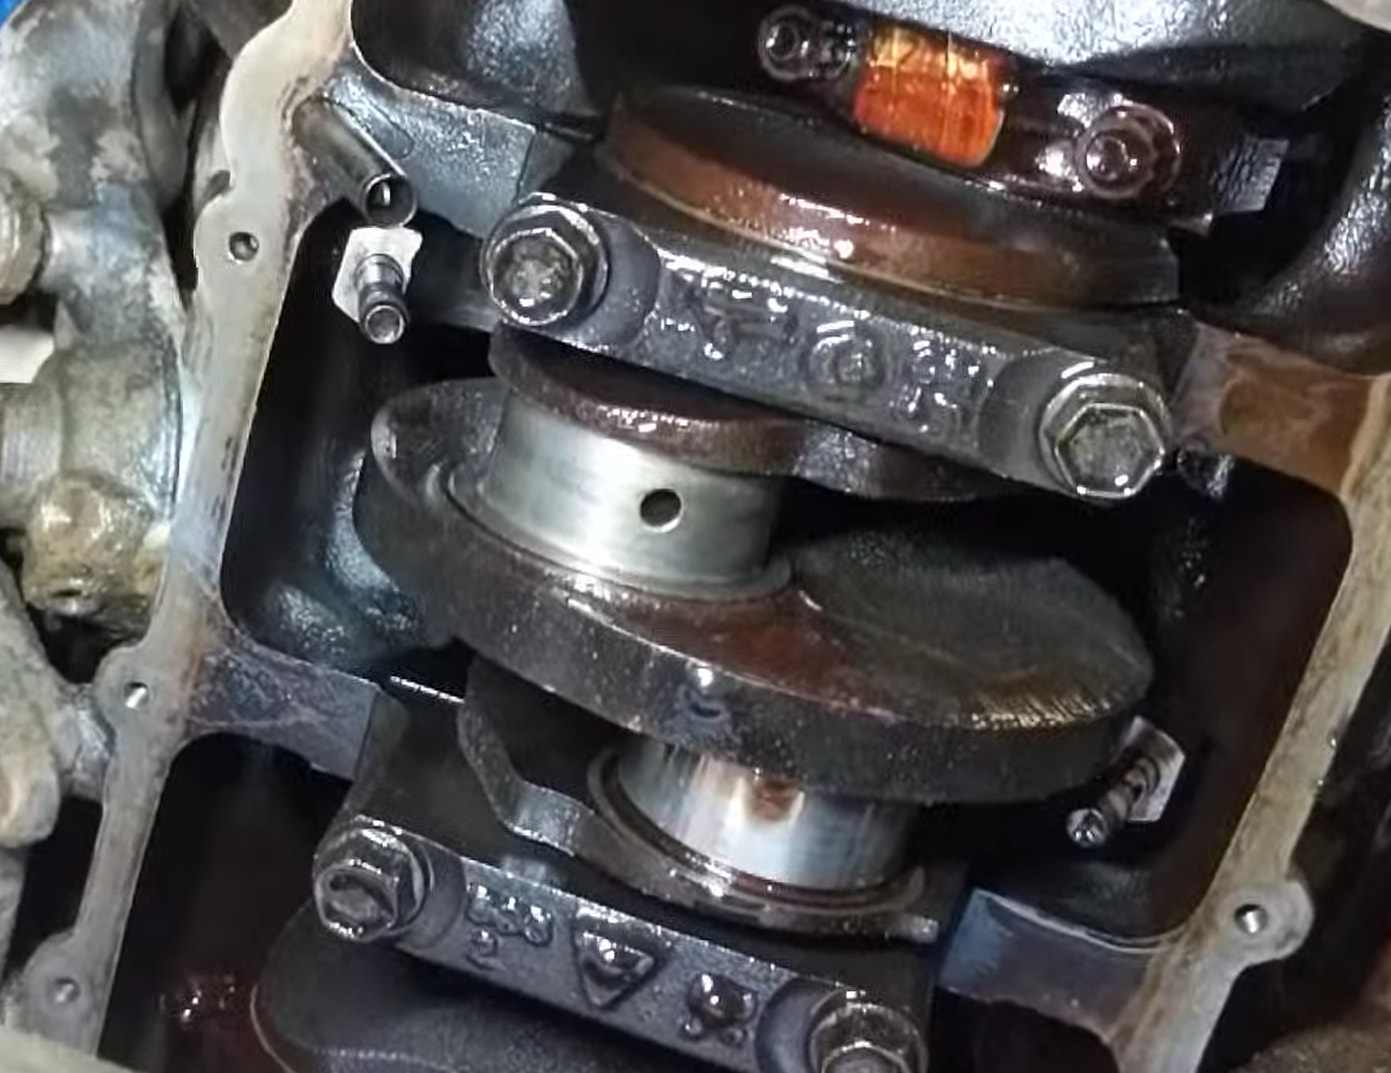
The damage seen when I pulled the pan wasn’t all that surprising given the assault of knocking noise. As pictured, the crankshaft did not survive the ordeal. It’s so chewed down that the raised section in the middle of the journal was no longer raised, except for a little section on the top. So not only is the journal super shaved down and full of deep gouges, its also very egg shaped! The bearings that hadn’t spun had gnarly pitting going on, I suspect due to coolant contamination from the intake manifold gasket leaking into the crankcase. I had removed that oil pan before to change the gasket, and just didn’t bother to inspect the bearings? I guess I must just love self sabotage? Im sure this could’ve been avoided with new rod bearings back then, but oh well, this motor’s days were numbered anyways.

Unfortunately for me, the Rodeo is the only functional vehicle I currently own! So as a bandaid fix while I get the new engine situation sorted- I cleaned that totally trashed journal up the best I could with some super fine sandpaper, used green high temp locktight to essentially permanently glue the new bearing halves to the rod (so the egg crank journal wouldn’t just immediately spin them), and filled 'er up with the thickest oil I could find. And believe it or not, at this point I’ve put another 1000 miles on the engine like that lol. Just doin my best to shift before 3500rpm, reeaallly babying it. It still knocks when its up to operating temp, but luckily I have a short commute lol. It seems my sketchy scumbag used car dealer type repair is gonna last me until the new engine is in!

Which brings me to-

My new engine!! Yay questionable junkyard motor!
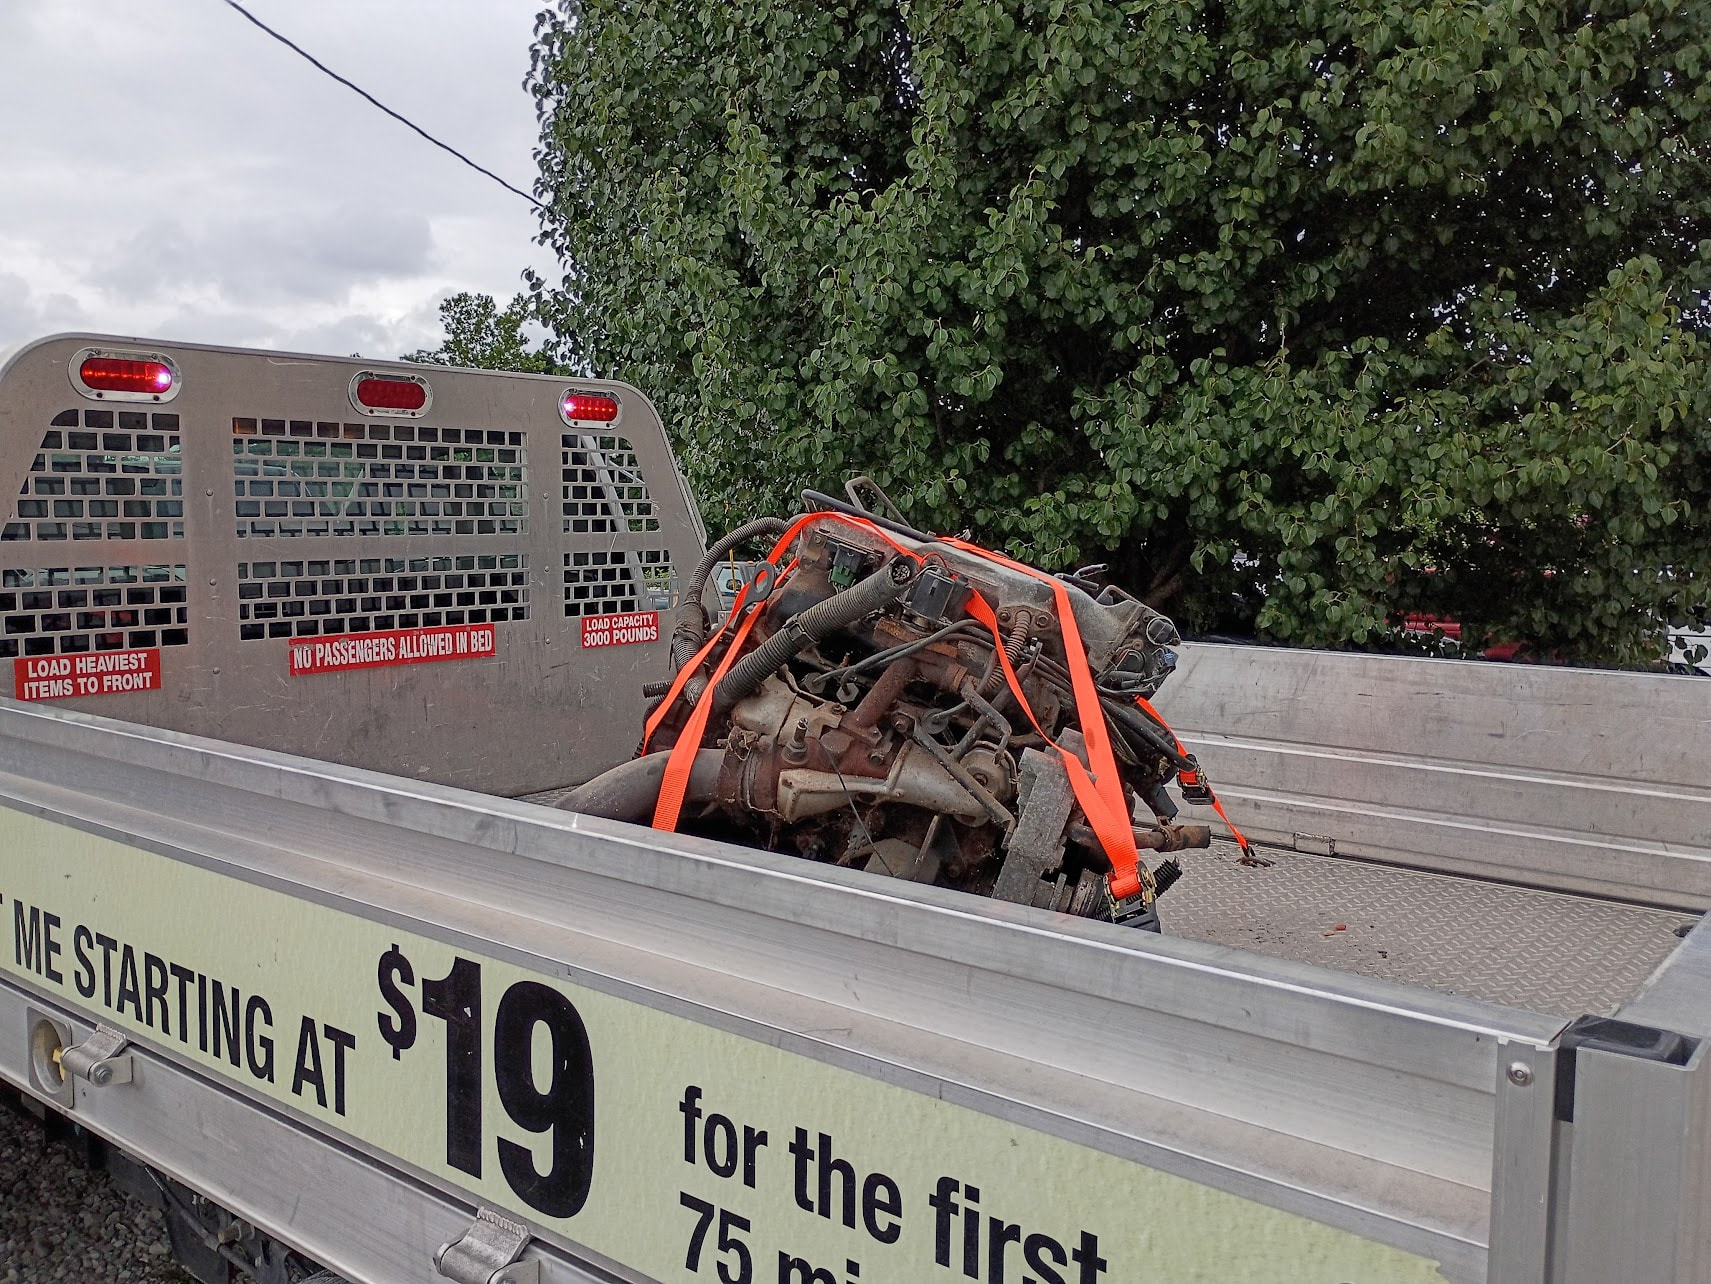
The original plan was to get whatever camaro/firebird junkyard motor i ended up with fully rebuilt, but i might not actually have to. Somehow I scored a seemingly recently rebuilt engine. This thing looks immaculate inside-
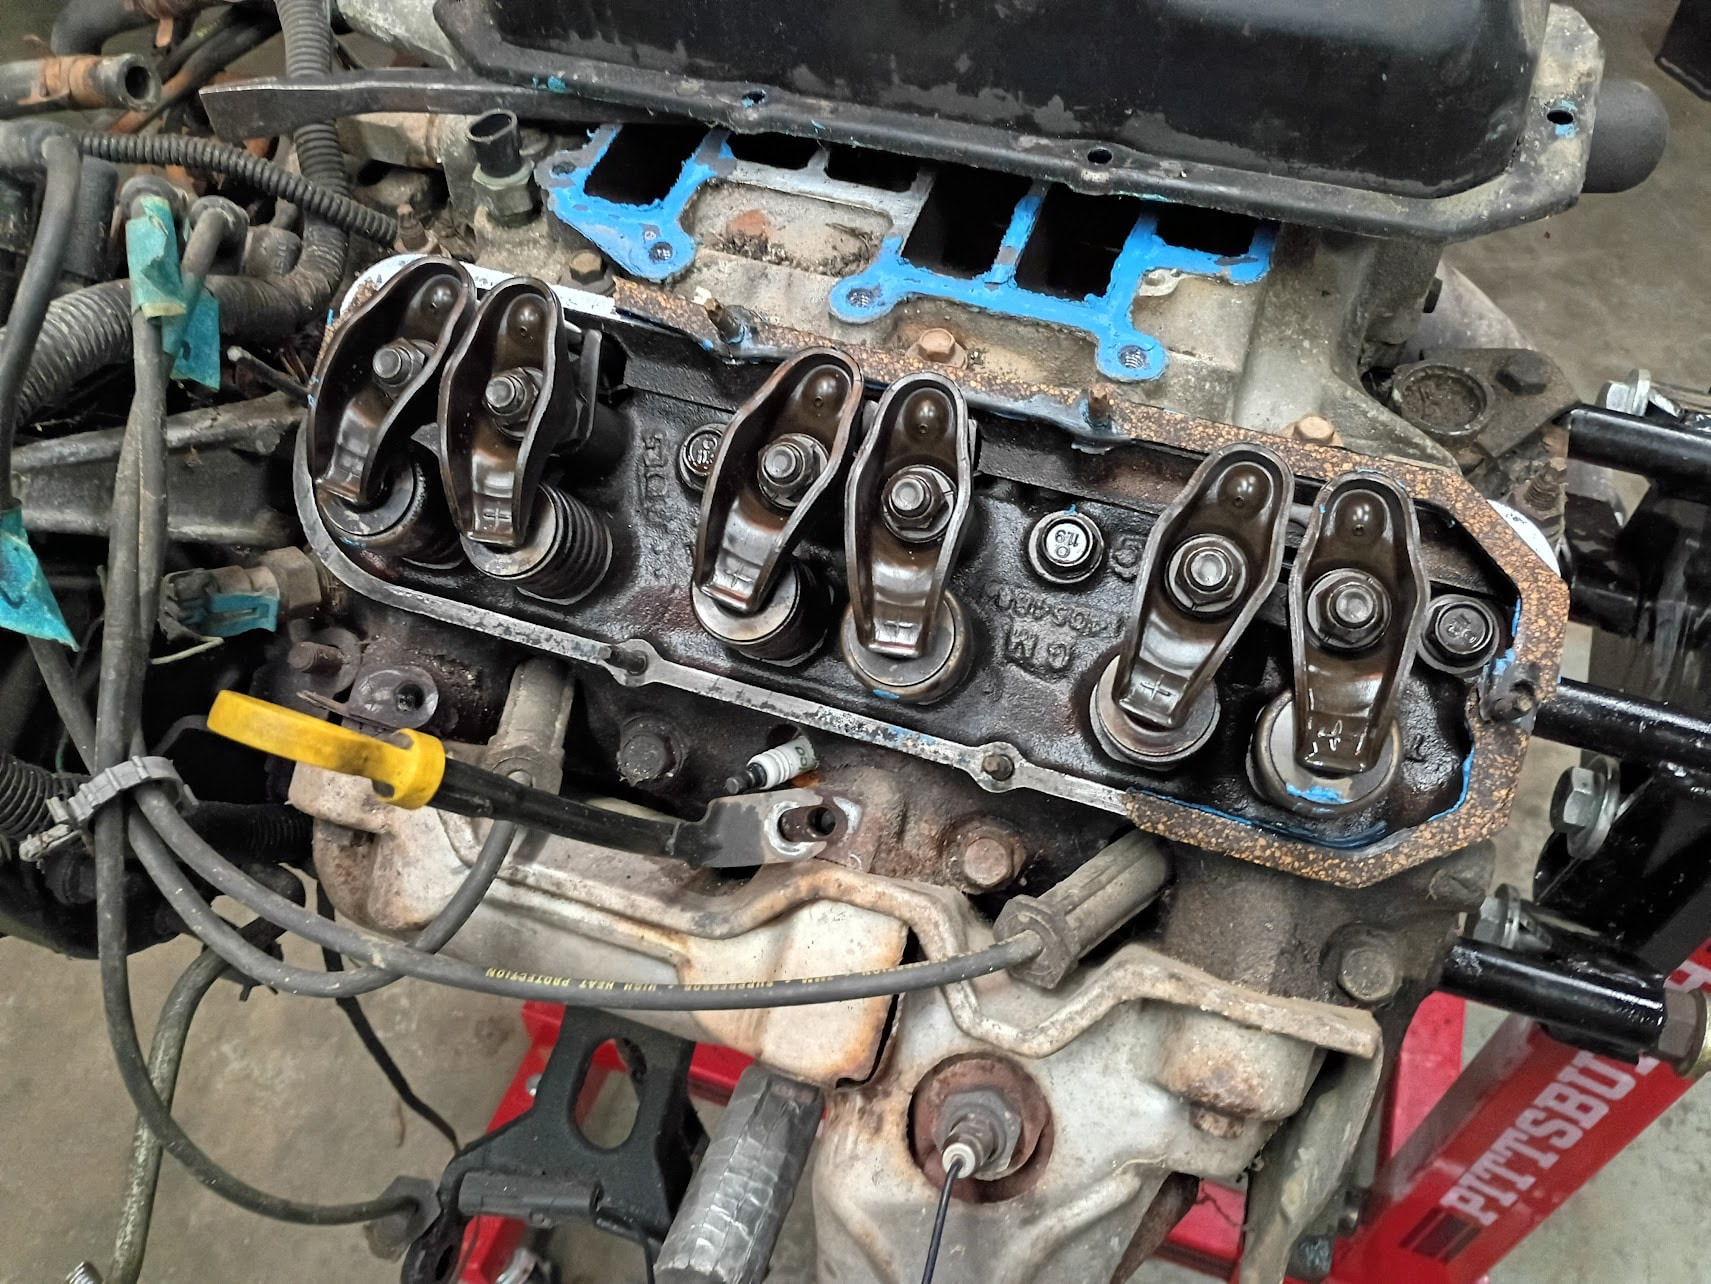
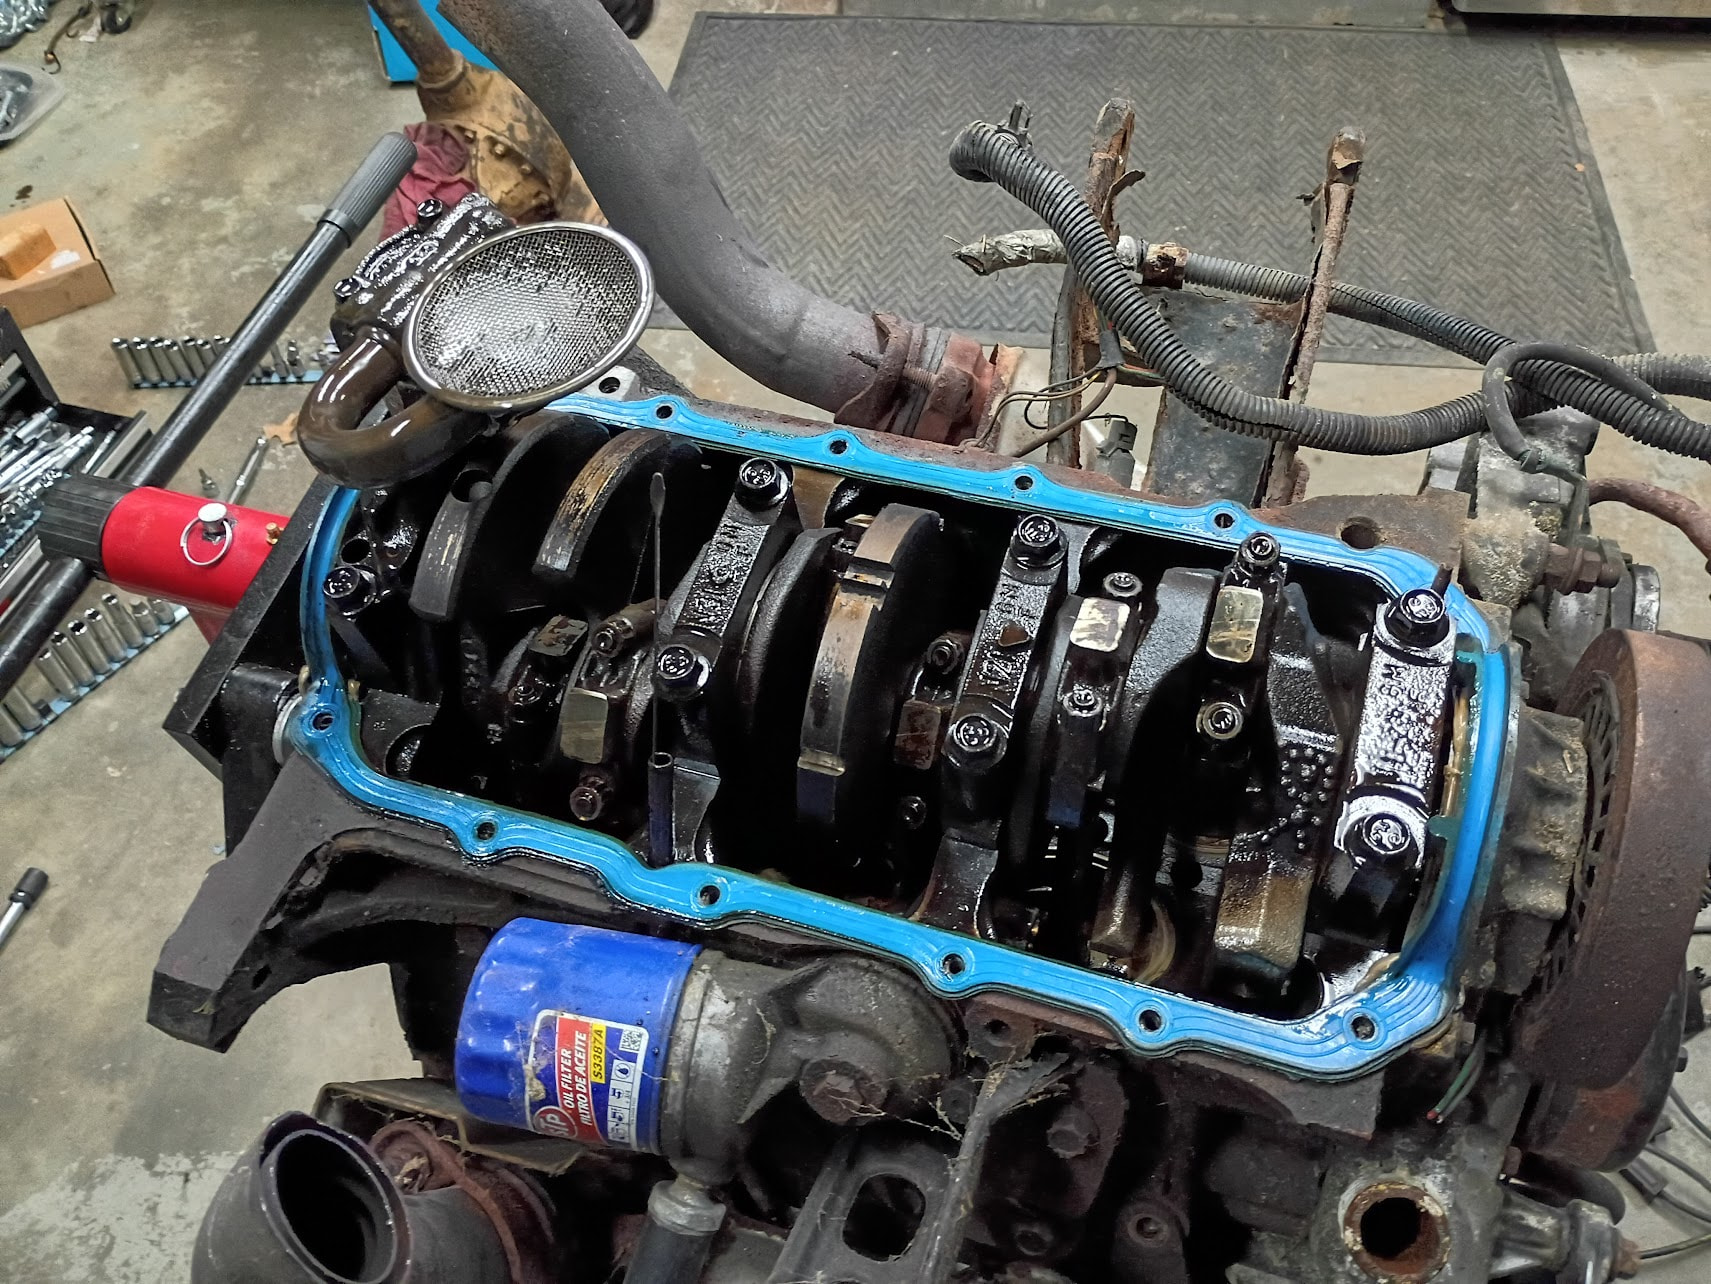
admittedly a lil crusty on the outside, but inside its CLEAN. Most gaskets seem new, looks like even the freeze plugs are new!!
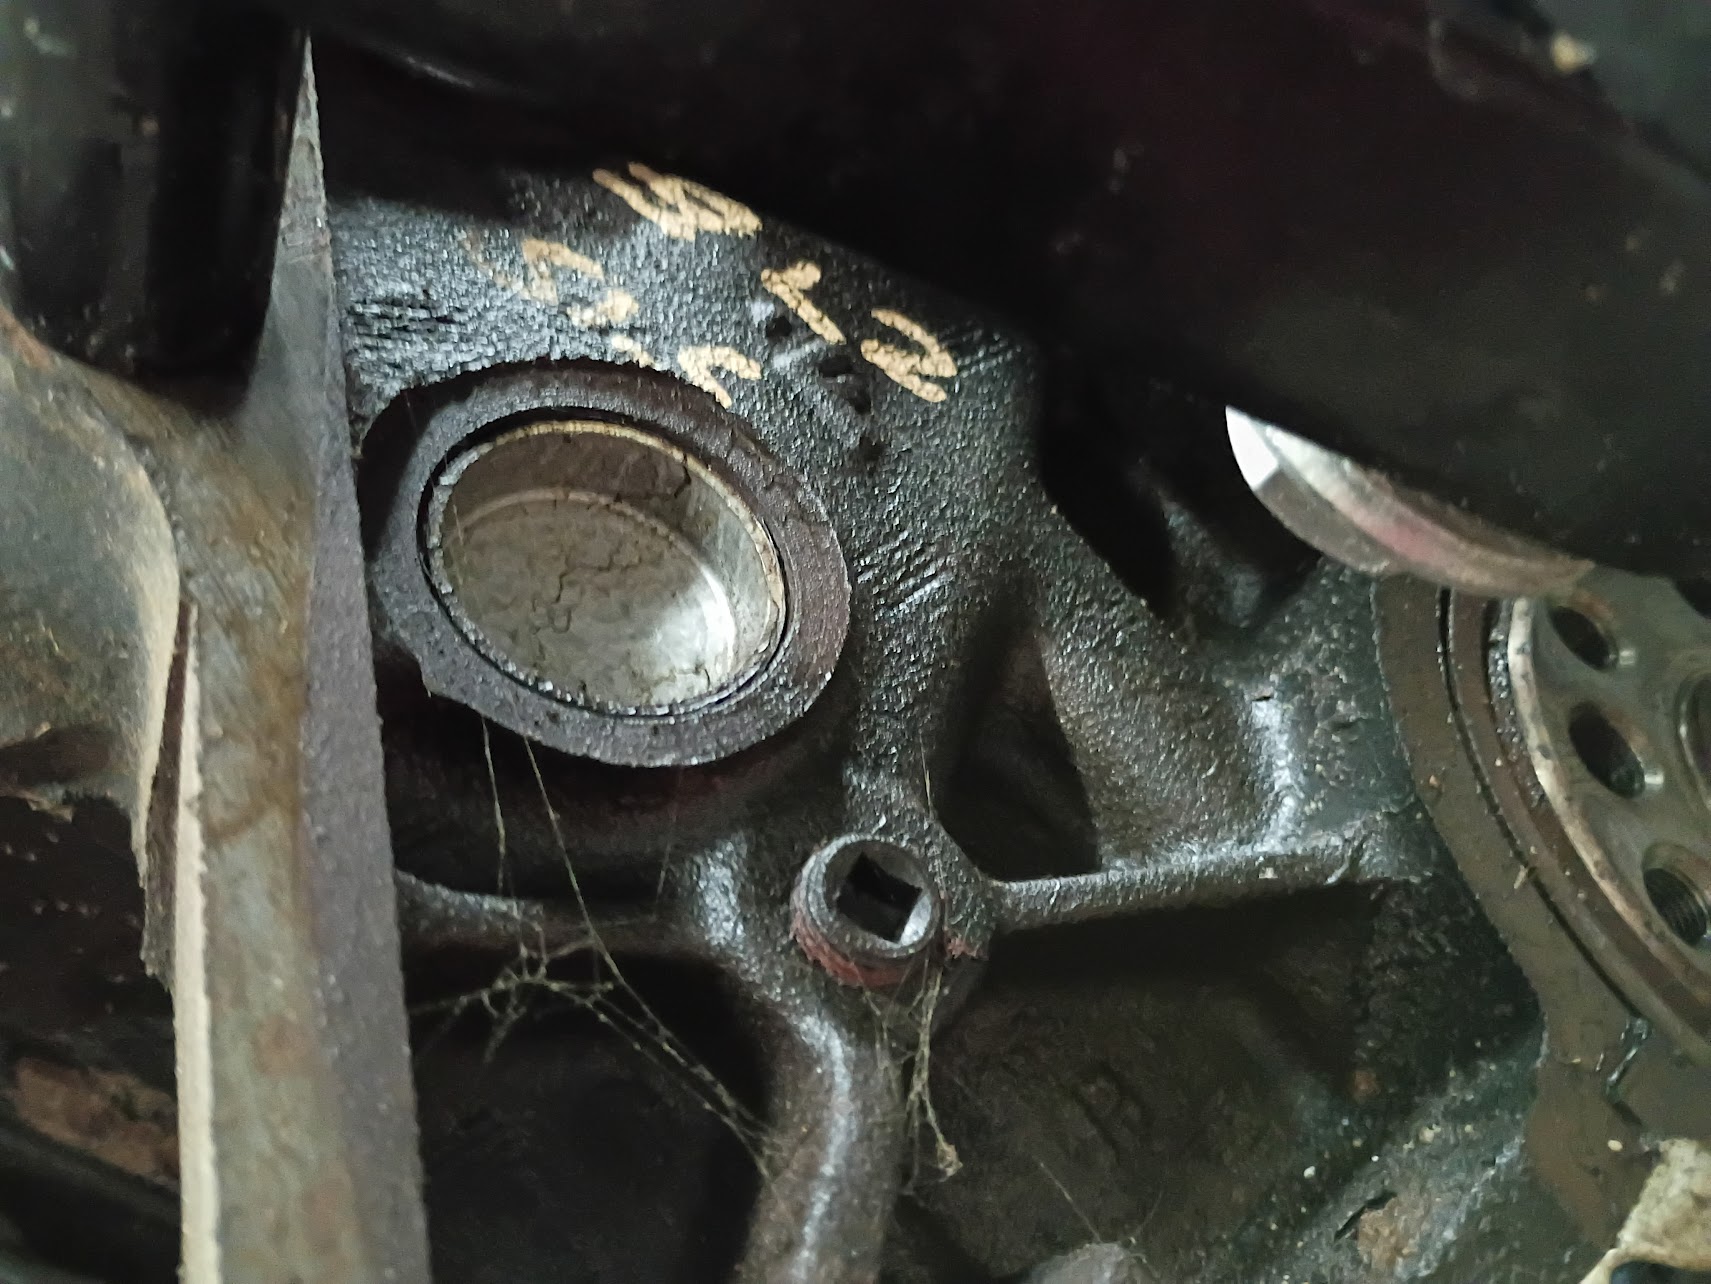
and the oil that came out looked NEW
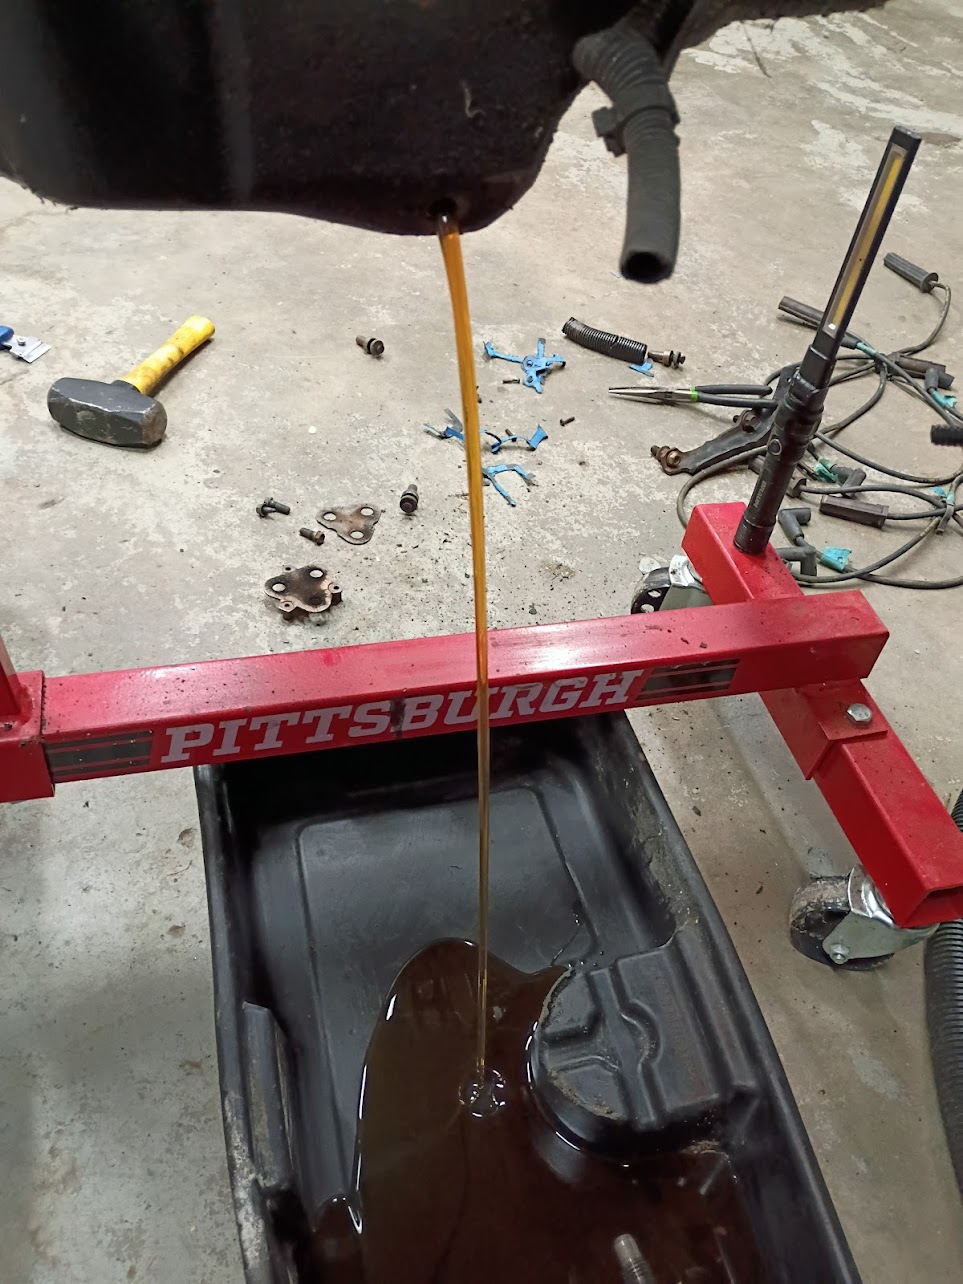
Cross hatching was still clearly visible in the cylinder walls too. For the first time in my life I might’ve gotten lucky with the used auto parts I bought!

Perhaps some poor guy wasn’t prepared for how much power their Camaro was gonna make with a freshly rebuilt motor, and only made it a quarter mile before they biffed it lol. Oorr maybe it was the 4L60E wasn’t prepared for how much power the freshly rebuilt motor was gonna make… Can’t say for sure why that Camaro was junked with what appears to be a lot of recent engine work, but I’m not sad that it happened!

Currently working on ordering new gaskets and whatnot for the 3.4. I have a 4.3 Astrovan throttle body thats gonna go on it, as well as a set of those sweet aluminum 2.8 Feiro Valve covers.

Assuming everything still checks out once the intake manifold is off, I think I’ll keep the 3.4’s stock cam and valvetrain. Honestly the 3.1 made enough power for me. My main reason for the swap isnt a thirst for more power, I just yknow, dont want a blown motor. So I’m sure the 3.4 will make me happy as is. Spending all the time and money to totally hot rod the 3.4 isnt worth it for me.

So far my list of things to do is something like-
Repaint the valve covers, bore out the intake manifold for the larger throttle body, replace most every gasket, swap over all the accessories from my old motor, do the adjustable fuel pressure regulator mod, drill and tap the new starter bolt holes, aaand a bunch of other little things.

Not 100% sure what im gonna do about the starter mounting situation yet… I have access to a drill press so Im fairly confident that with enough measurements I can make my own crummy jig, or maybe someone here would let me borrow one? (pretty please :pleading_face:?)

But uhhh yeah, thats where im at so far. Any and all advice/info is greatly appreciated as always! I believe @EdMc34ZuZu you have a 3.4 swap doc you could share? I reckon I might need that, I’m only like 78% sure I know what im doing. Hopefully I’ll be out there chirpin mud-terrains with the mighty 3.4 soon enough!
Welcome aboard!! You get the honor of the First 3.4 Swap of the new Forum!!

Thanks Ed! An honor indeed!!

So, I came to realization that I would eventually inevitably regret keeping the stock cam.

copying one of Ed’s messaged from the old thread here, this is now somewhat taken out of context, but info I wanted over here for picking up the pieces:


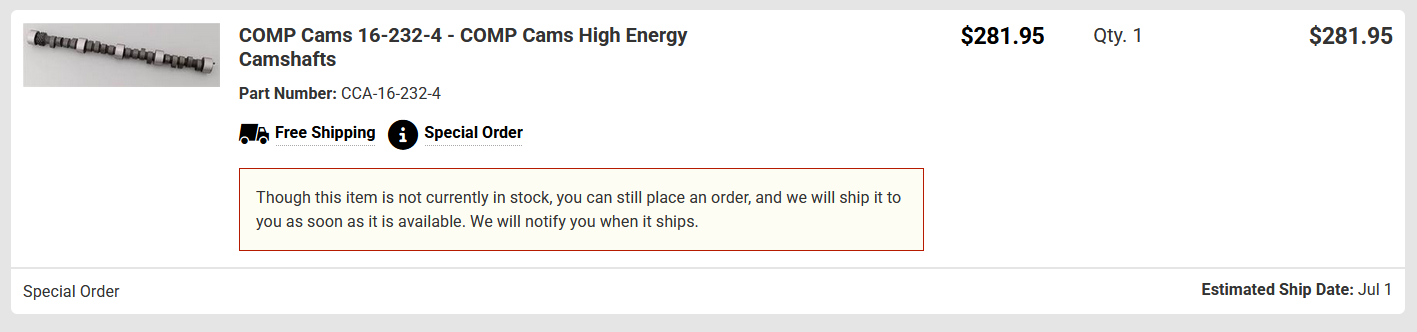
"The "252’ cam by itself is listed at Summit as “ships tomorrow”:

Pardon Our Interruption

Only $282!!

P/N for the cam by itself is 16-232-4

Jegs, $282, ships July 1st:

https://www.jegs.com/i/Comp-Cams/249/16-232-4/10002/-1

Jegs also has the Small Kit SK16-232-4 for $380, and that includes cam, timing set, and lifters:

https://www.jegs.com/i/Comp-Cams/249/SK16-232-4/10002/-1

Same shipping date, 7/1.

Both Delta and Rockauto have good prices on lifters, and Rockauto has a pretty good selection of timing sets (some including the timing damper with the kit) and dampers sold separately.

So you could piece together a kit, of course those valve springs and retainers ain’t cheep and probably the best value is the full kit, if you could get one (and it seems that’s gonna be a wee bit difficult!)

I’d expect Delta Cams would have a recommendation on performance valve springs and retainers for the 60-Deg V6."


I ended up ordering the lil comp cams 252 kit from jeggs! But shortly after placing my order I received an email saying my order had been cancelled and I was being refunded because that part was discontinued by the manufacturer?? NoooooOO :( When viewing the listing now you can no longer order it, just says the product is no longer available. On Summit the cam alone still appears to be in stock with an estimated shipping date of tomorrow… until you go to checkout and they change their story-

Its out of stock on the comp cams website too, I fear this cam is indefinitely unobtainable.

Think I’m gonna call delta cam when I get the chance, see about another “248” cam and some new lifters, and valve spring recommendations. My previous experience with Delta Cams was top notch, so I’m absolutely content going that route since it seems getting a hold of that comp cams cam is gonna be troublesome. I think my wallet will prefer the delta cam route as well.

Greetings And Welcome,Merv..!! Now That’s One Helluva Screamer Introduction Post..!! Hell,I Loved It..!! Now,you’re among Friends,Fiends,Colleagues And Associates Here..!!

One thought that traveled through the creaky gears of my old mind would be to work with the Admins to reissue this as a new post. I mean have them leave this here,but copy it over to the new forum section under something like “Merv’s Forum Breakthrough 1st 3.4l Whoopee Swap”.. Yes,demented to say the least,but it’s only a mild/Daft suggestion..!! Something tells me that since you’re the first to “Kick Da’ Door In & Hold The Lead Swap Spot” here,you’re going to be a Wonderful Read..!! Carry On,Cash And Carry,And Forward We Go,Mister..!!

Thankya much!!! This lil v6 better end up being “One Helluva Screamer” too :p

I’m content with this thread being here and here alone the way it is, but that’s most certainly not a bad idea tho!! If I had unlimited free time to hang out on zuzu forums I’d get a bit more extravagant with the thread, but alas, I’ll be here when I can.

Well not much progress has been made, I’ve got too much going on rn :face_with_bags_under_eyes:. Once I get all my parts together I just need to take like a week off work to get it all put together :confounded_face:

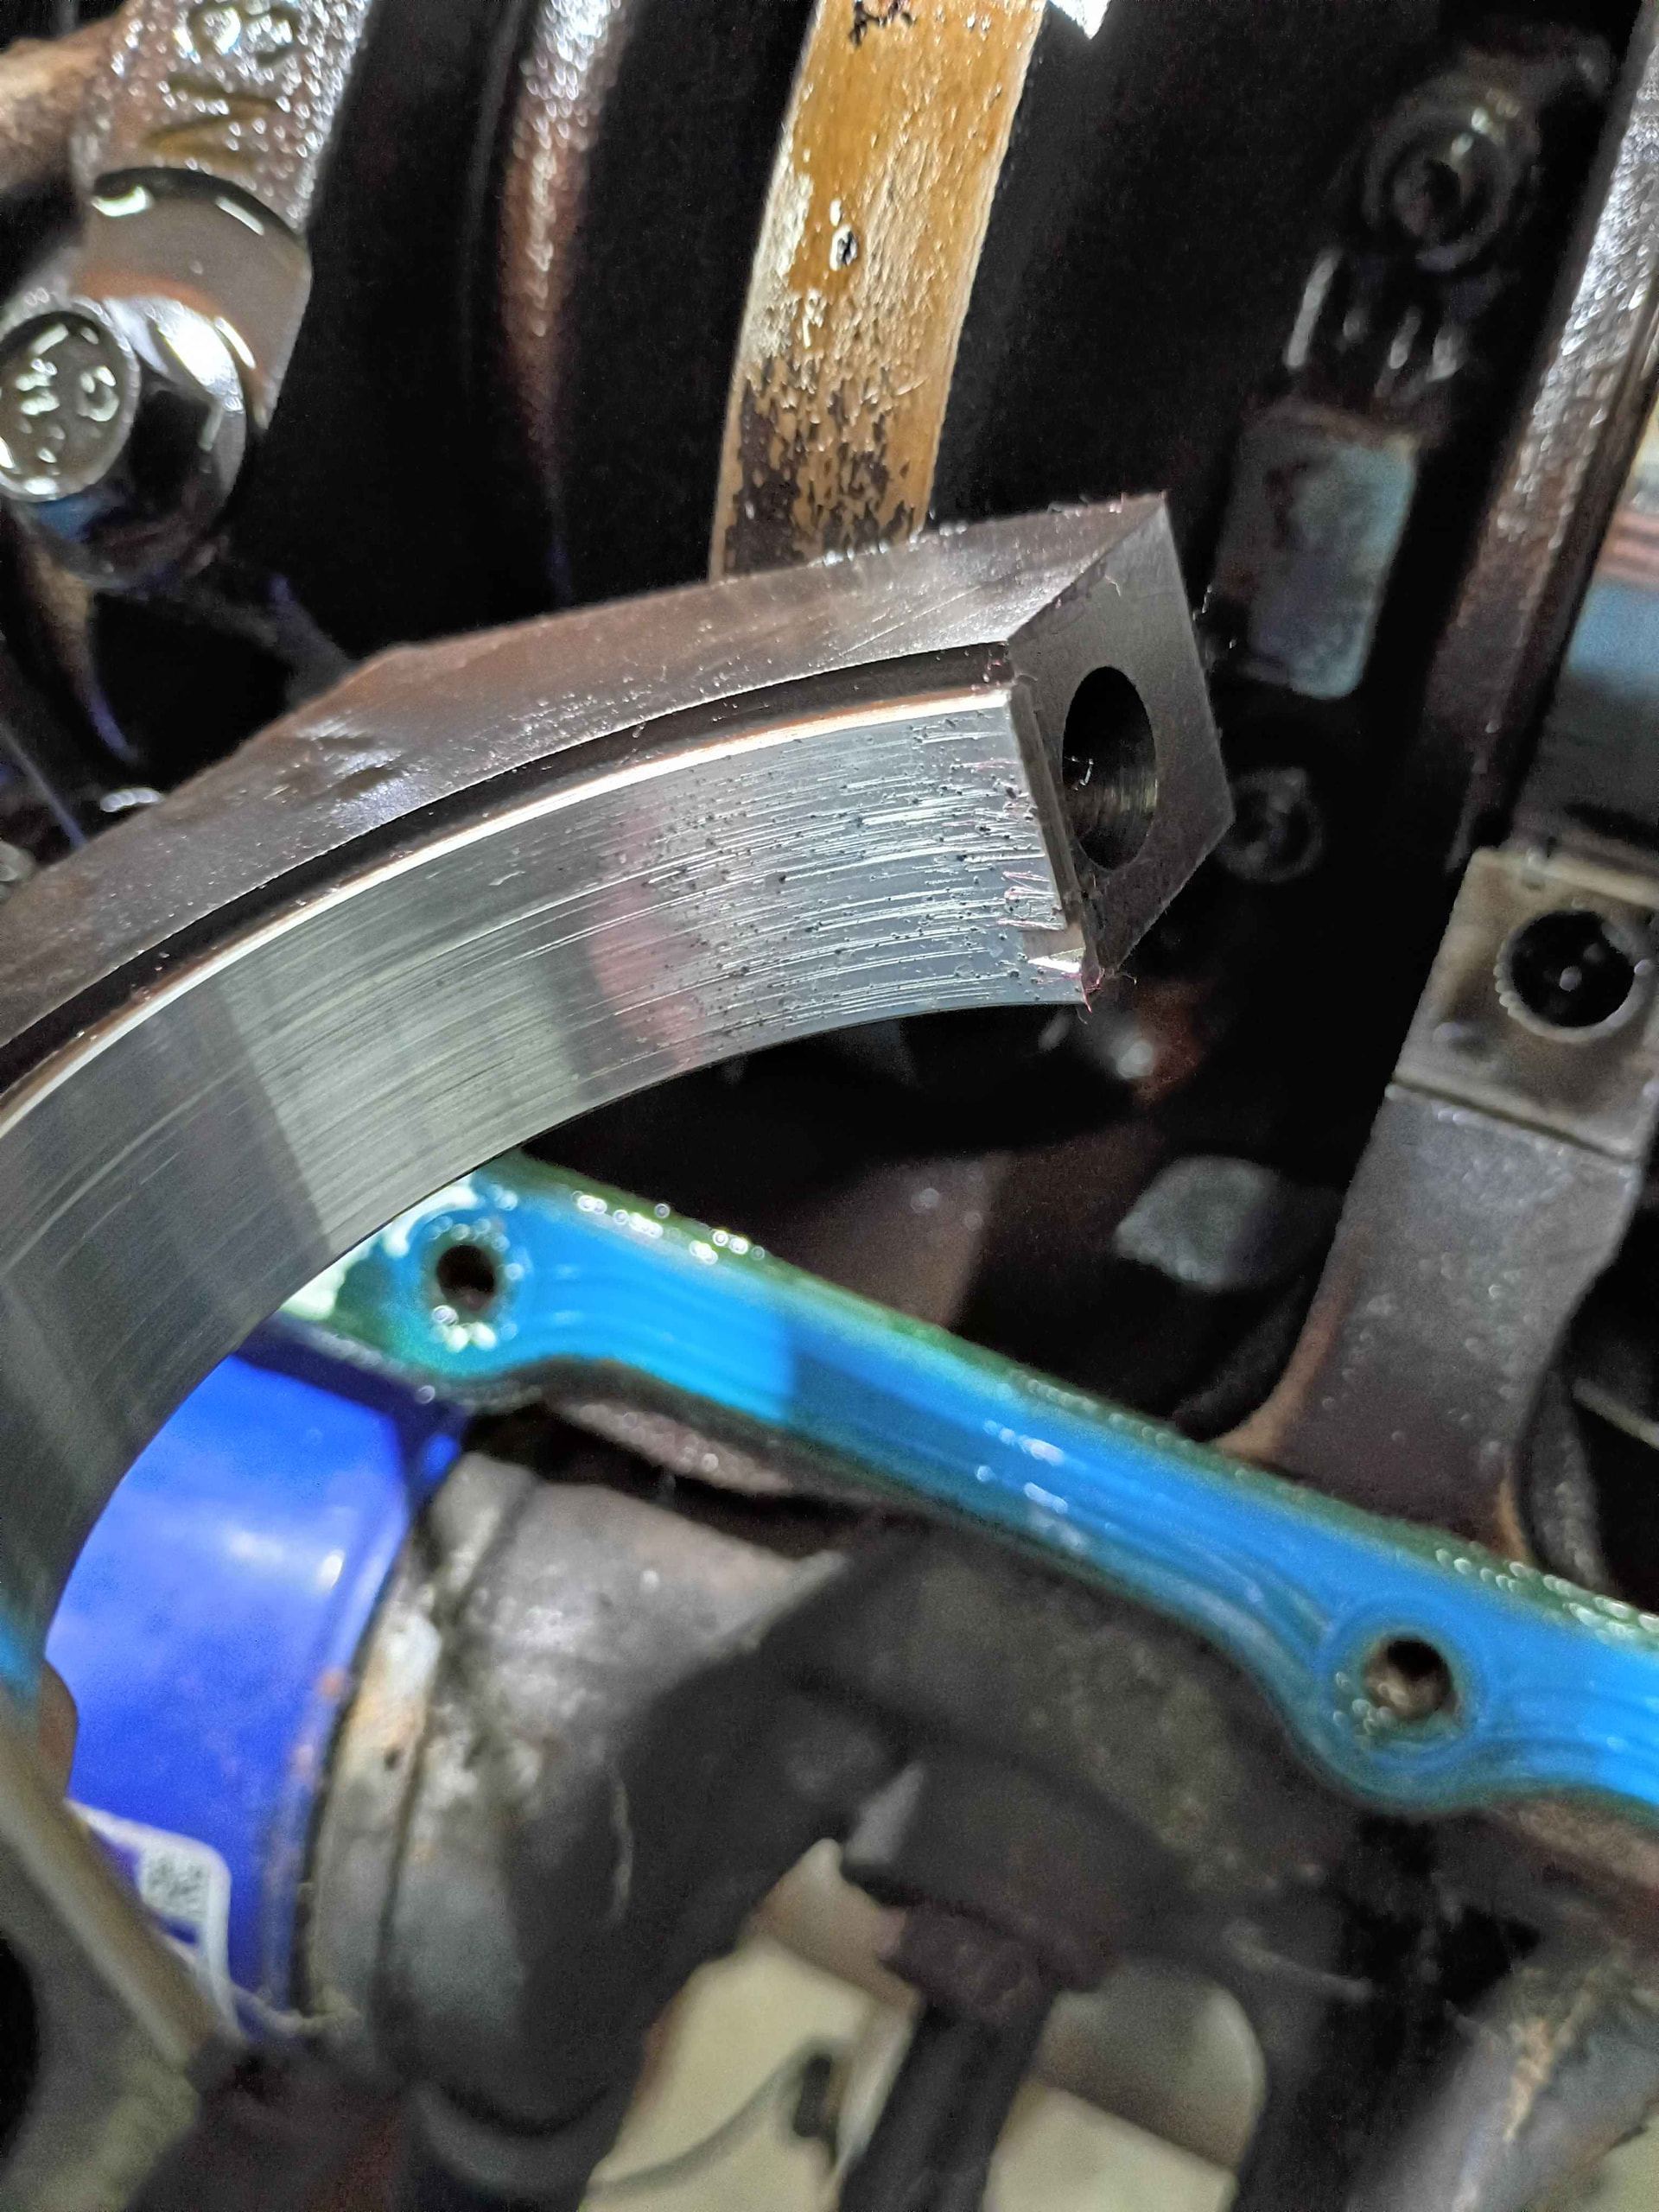
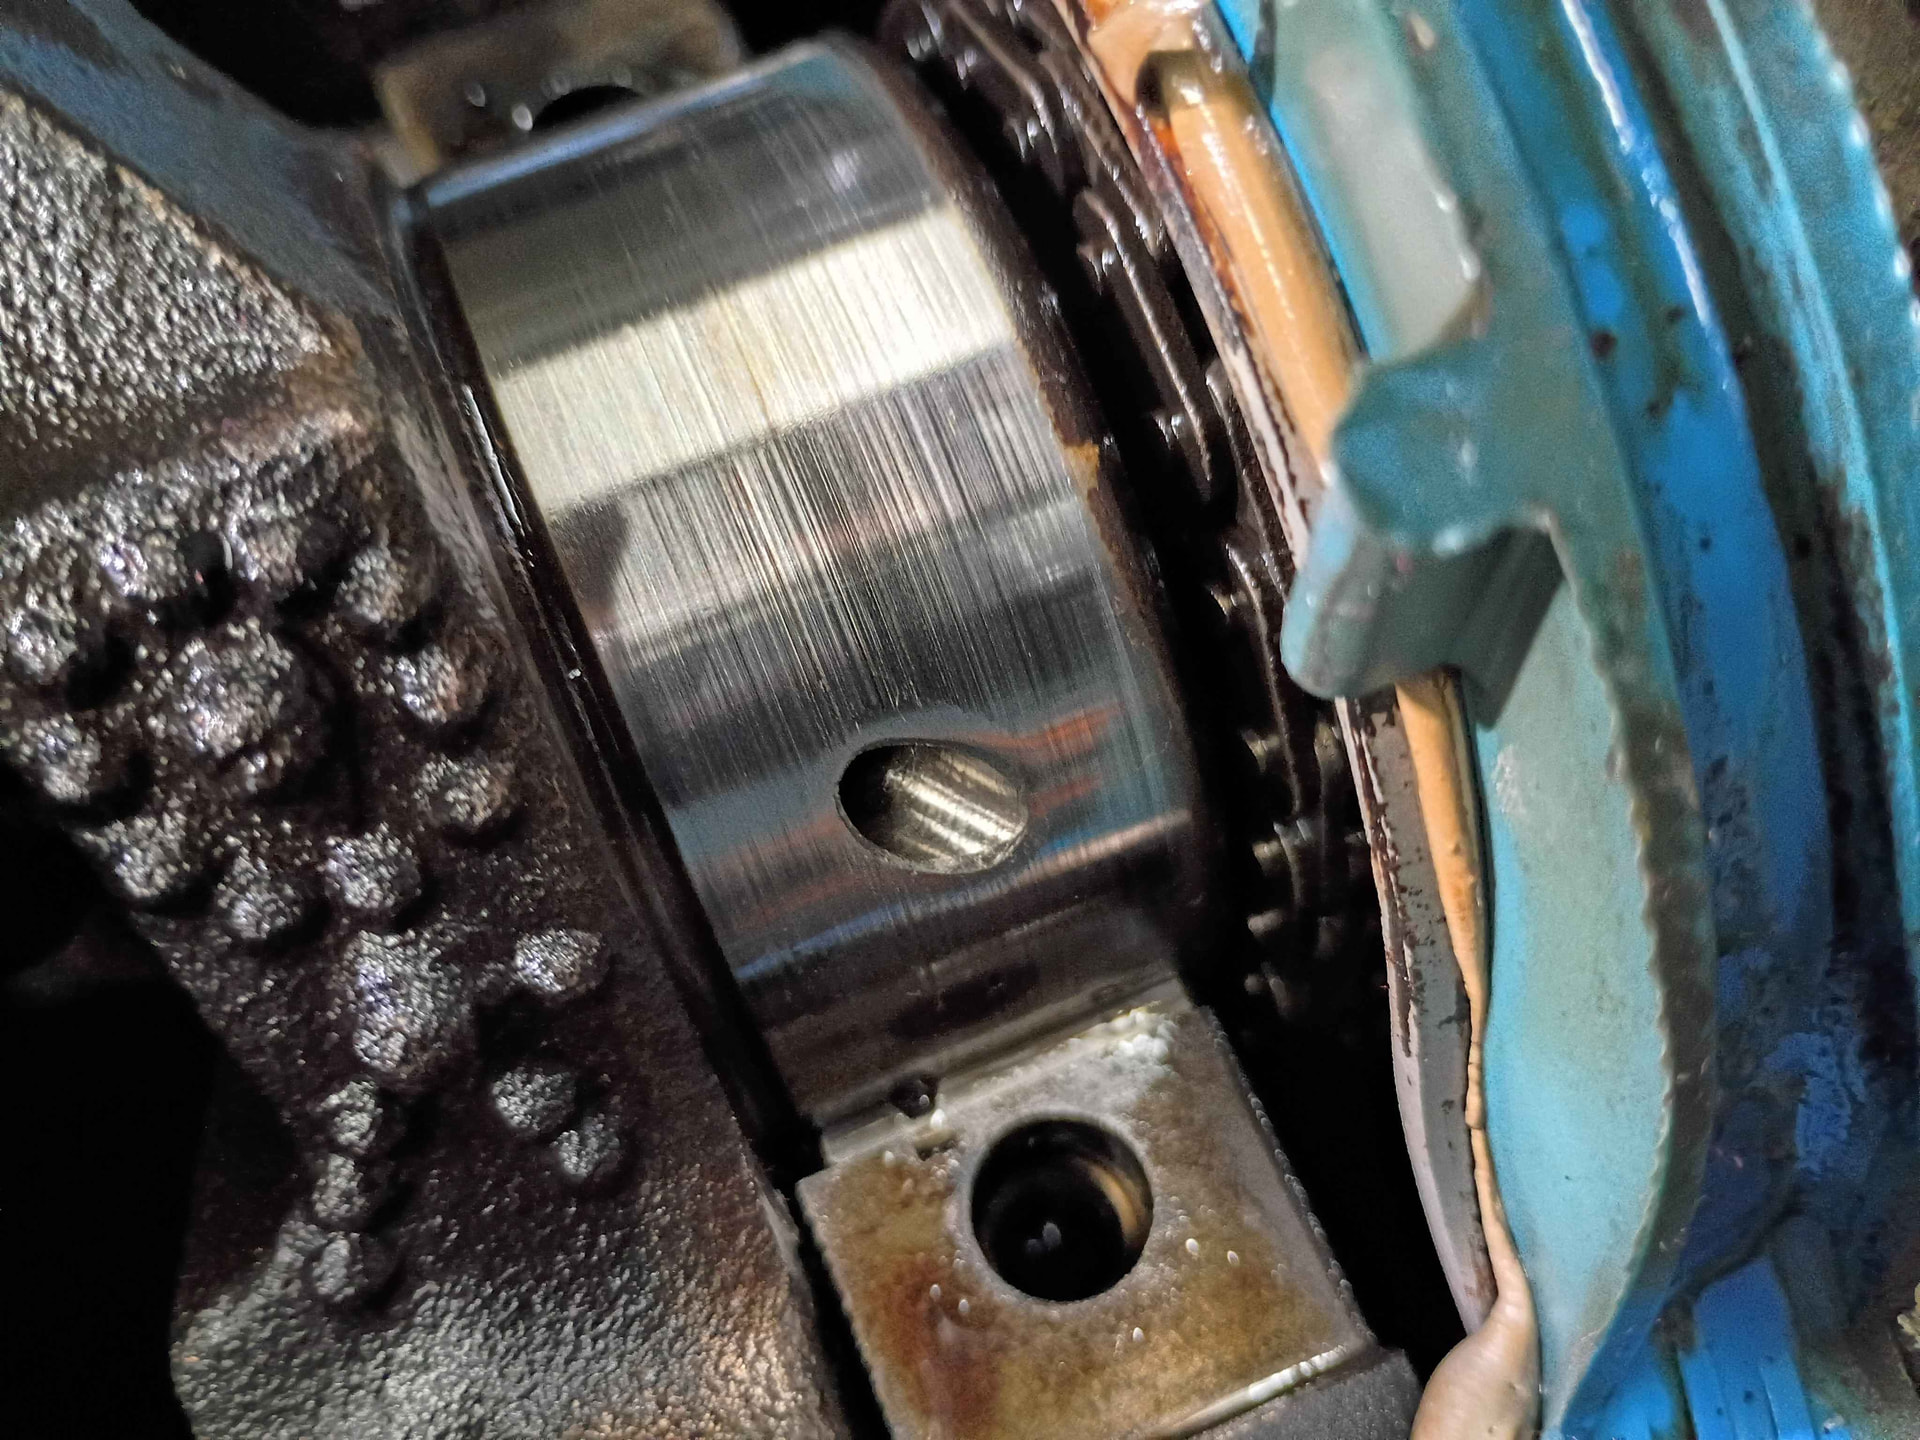
Tore the bottom end down a little further to get a proper look at the crank and bearings, and It’s not nearly as sunshine-y and rainbow-y as everything else has been thus far-

As pictured gnarly gouges in the main bearings, with some scoring on the journal to match. The journal actually looks worse than it is, only one or two of the scratches are deep enough to catch a fingernail on. The bearing is obviously done though, you could grate cheese with it. I pulled two of the main caps, both looked about like that. The rod caps I pulled were a similar story, the scratches in the rod bearings weren’t nearly as deep, but still ruined, and minor scoring on the journals. I used plastigauge to check clearances, and technically all the bearing clearances I checked were all still in spec despite the damage, so the crank isnt thaaat far gone.

Next week I’m taking the crankshaft to a machine shop to get some more experienced eyes on it, and they’ll be able to polish it or grind it for undersize bearings if need be. Worst comes to worst, rock auto actually sells a reman crank with new bearings included. I doubt that’ll be necessary though, no way this one it too far gone. Im sure it would still run fine in the shape its in for a good while, who knows, could be 100% fine the way it is for 100k miles…new bearings and away we go!! but yknow, I wanna be confident this engine will last.

I do find it very strange that the bottom end is as rough as it is considering how clean the rest of the motor is, like someone just decided to use sand as assembly lube for the bearings.

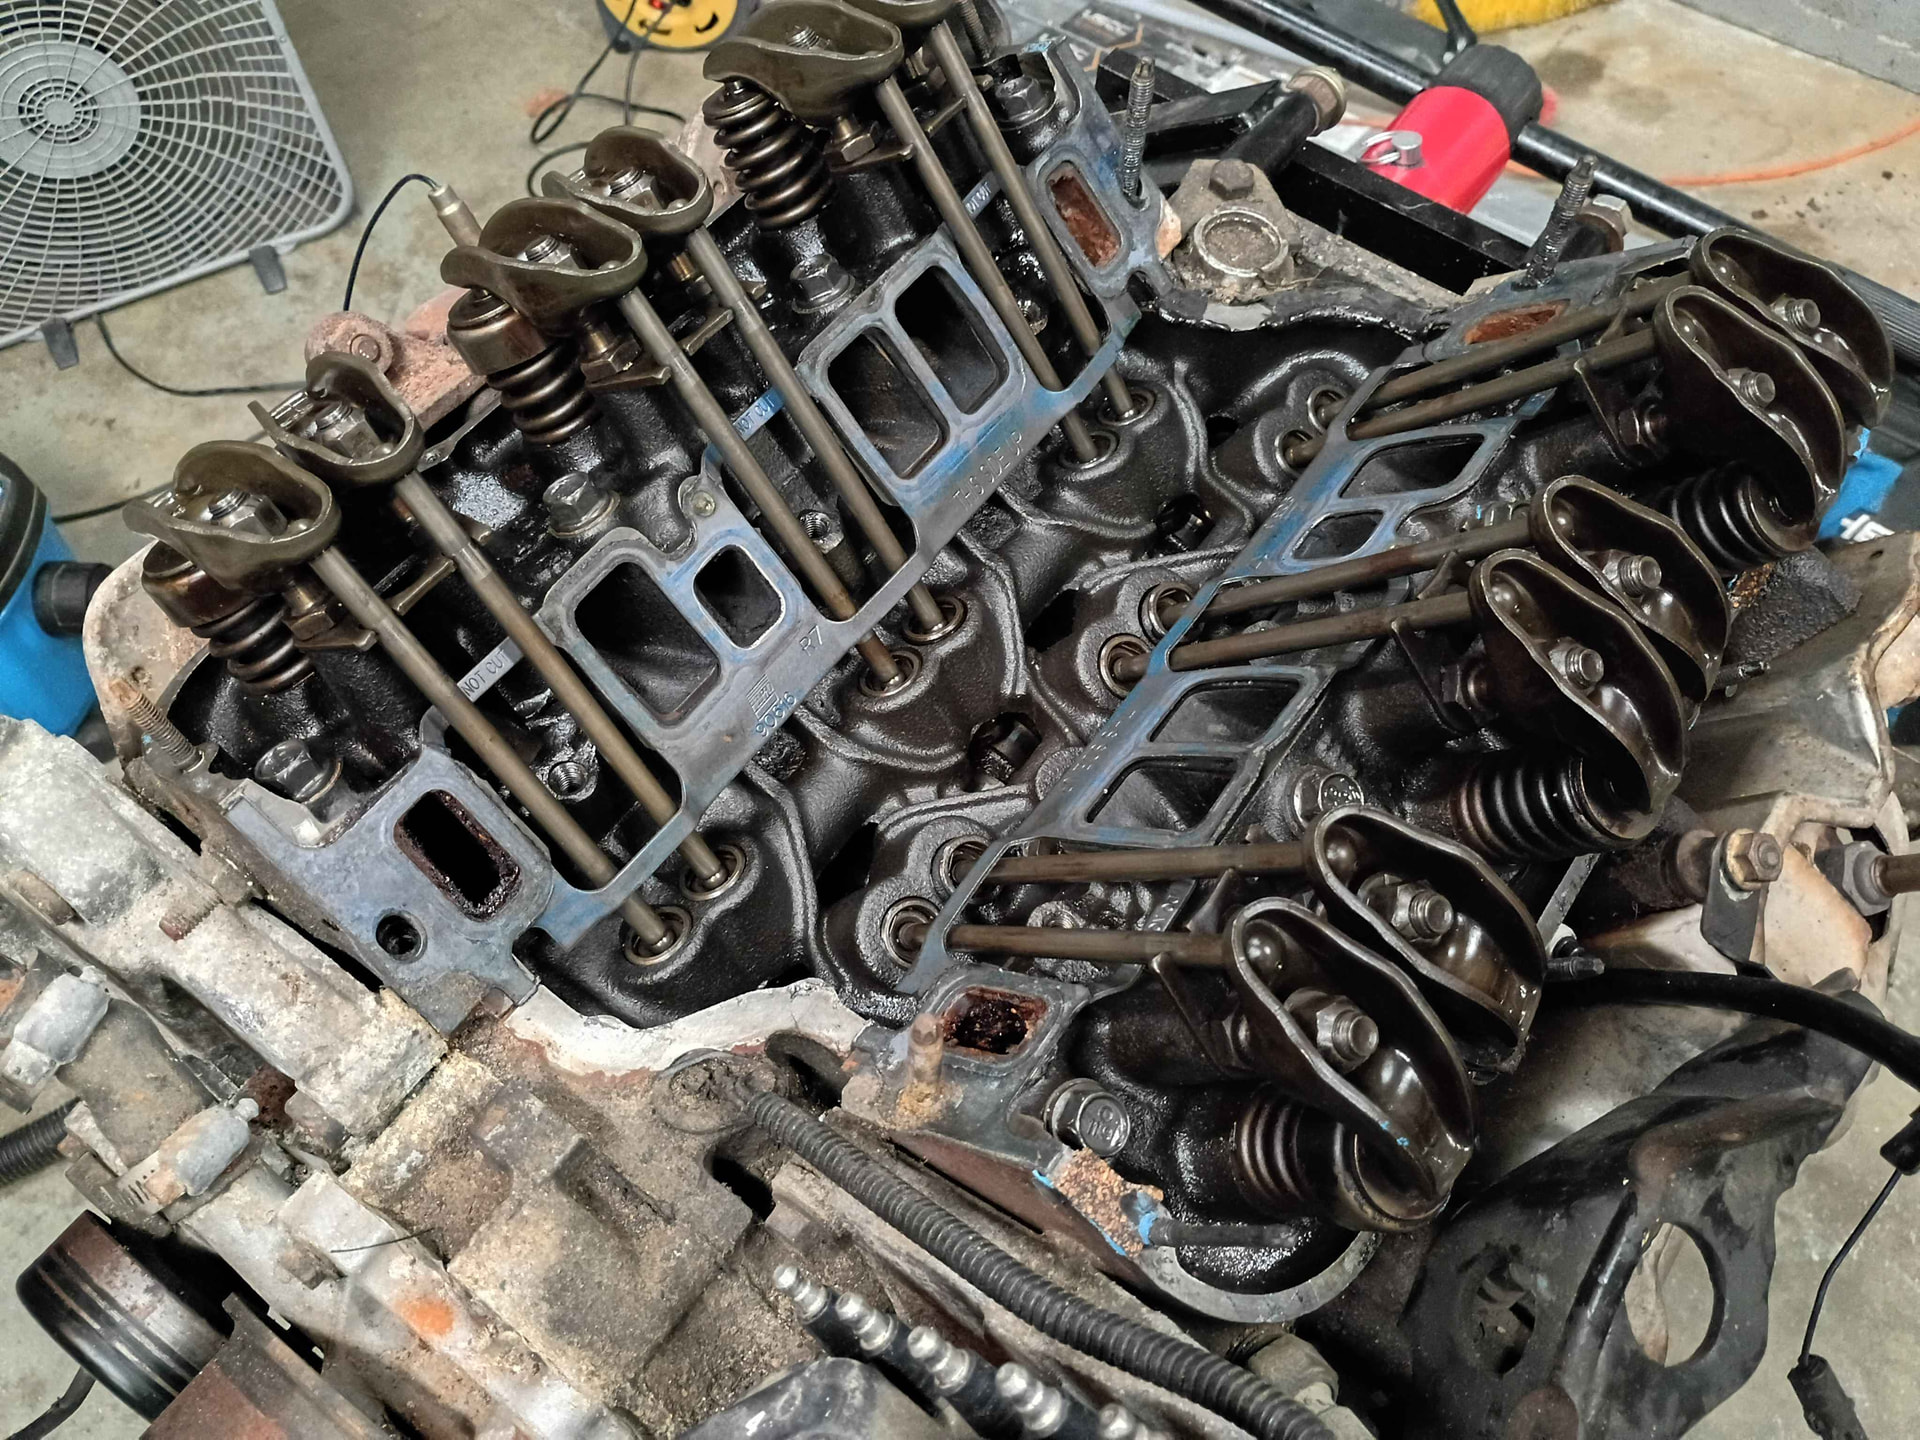
Took the intake manifold off too and the rest of the top end still looks just fine-

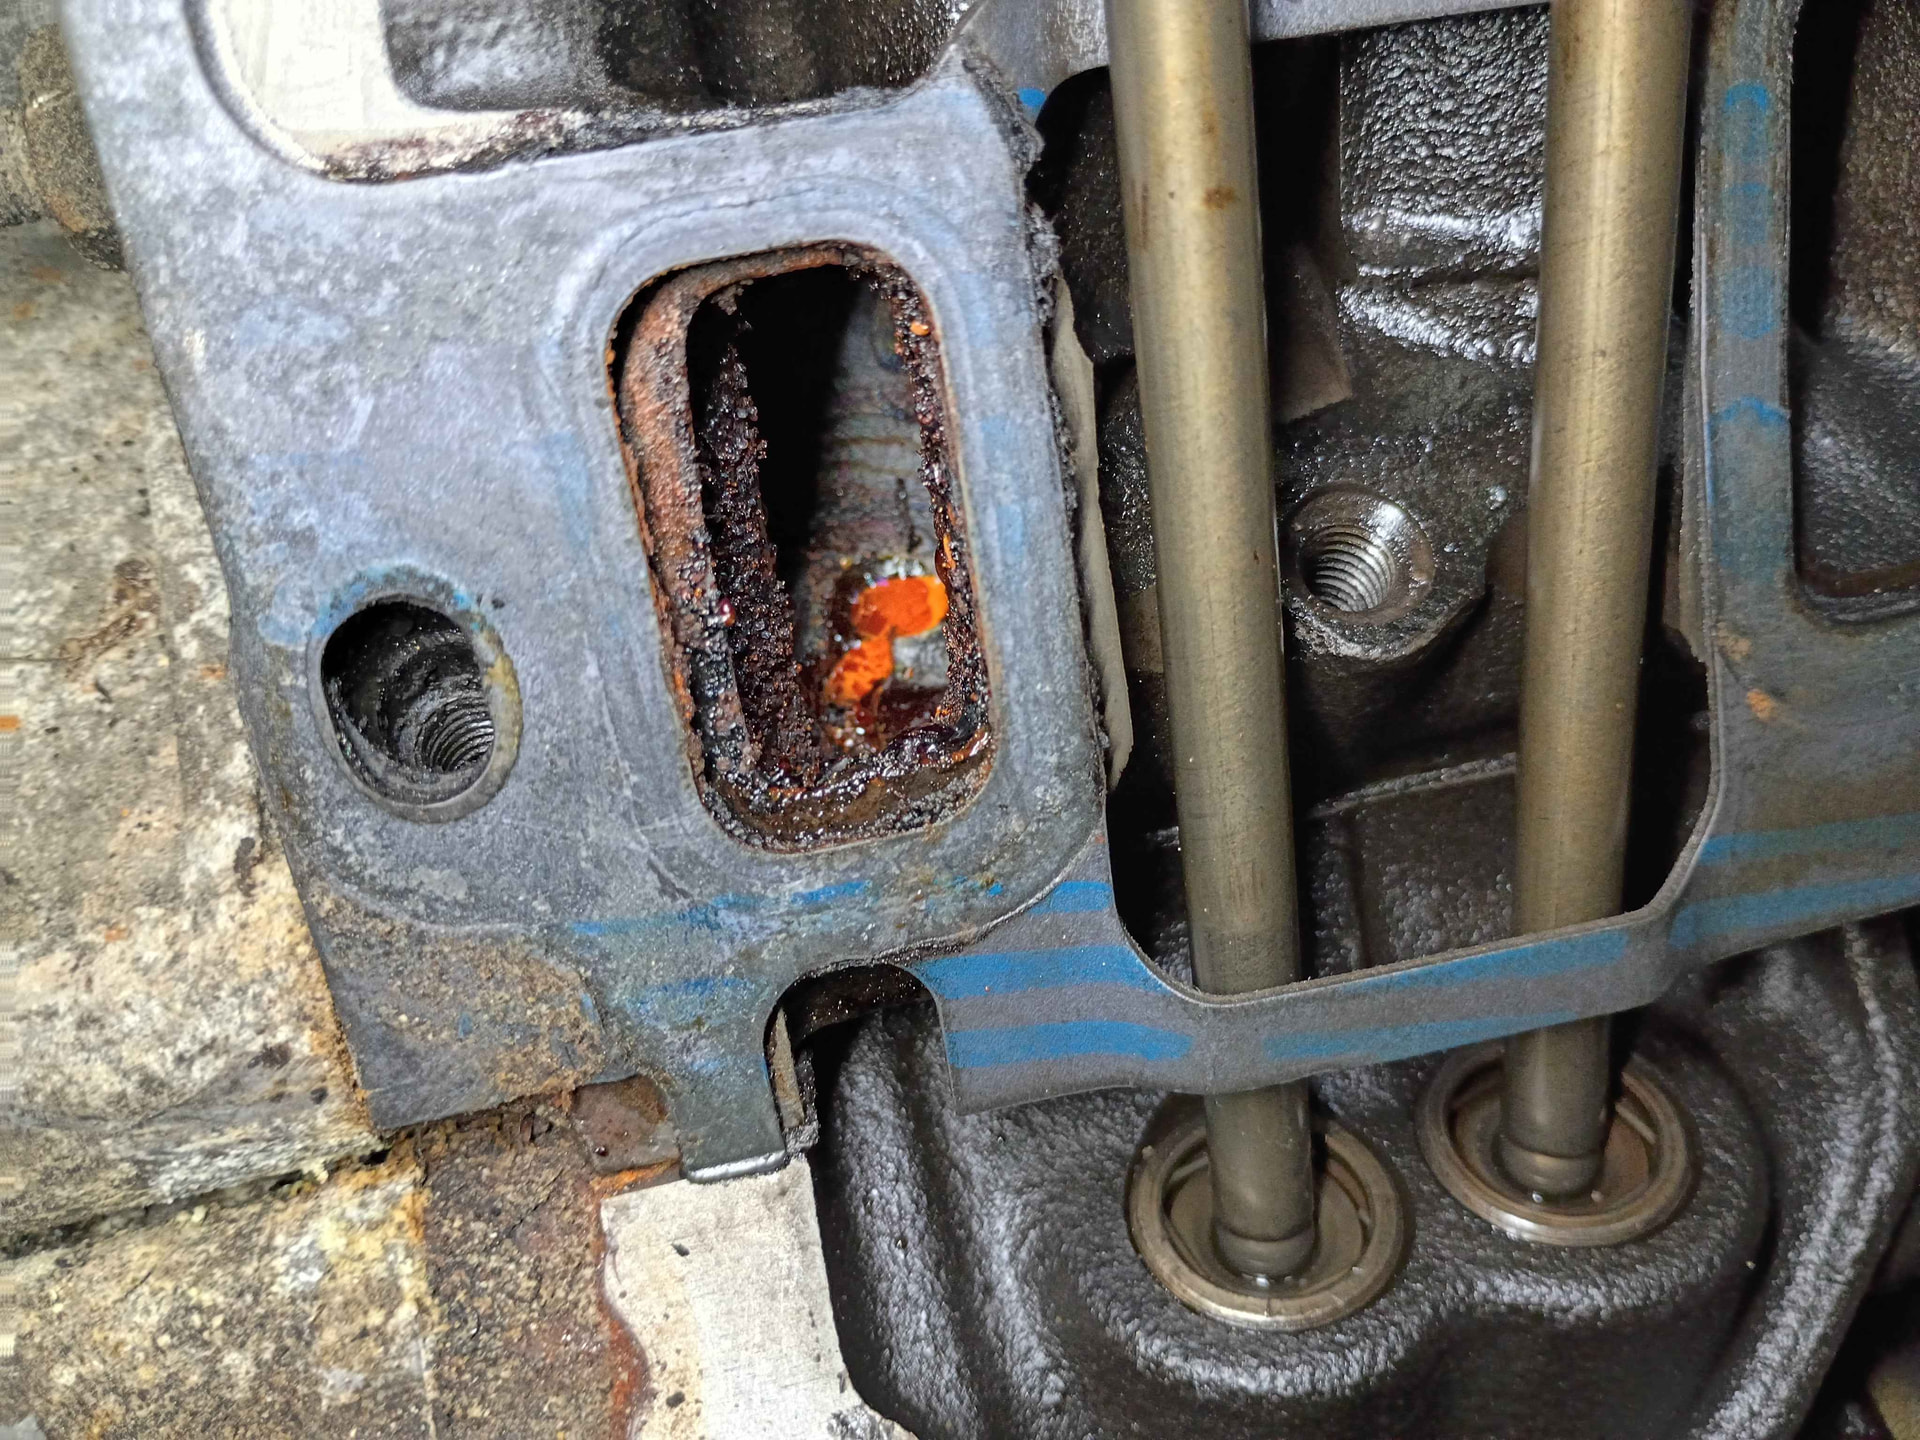
Well not the cleanest cooling system in the world, but otherwise nothing of concern hiding under the intake manifold…

That’ll get a serious flush before its allowed to mingle with my nice aluminum radiator and my heater core.

I’m really hoping the crank situation doesn’t cause a huge delay, my old motor can only keep knocking away for so much longer!!

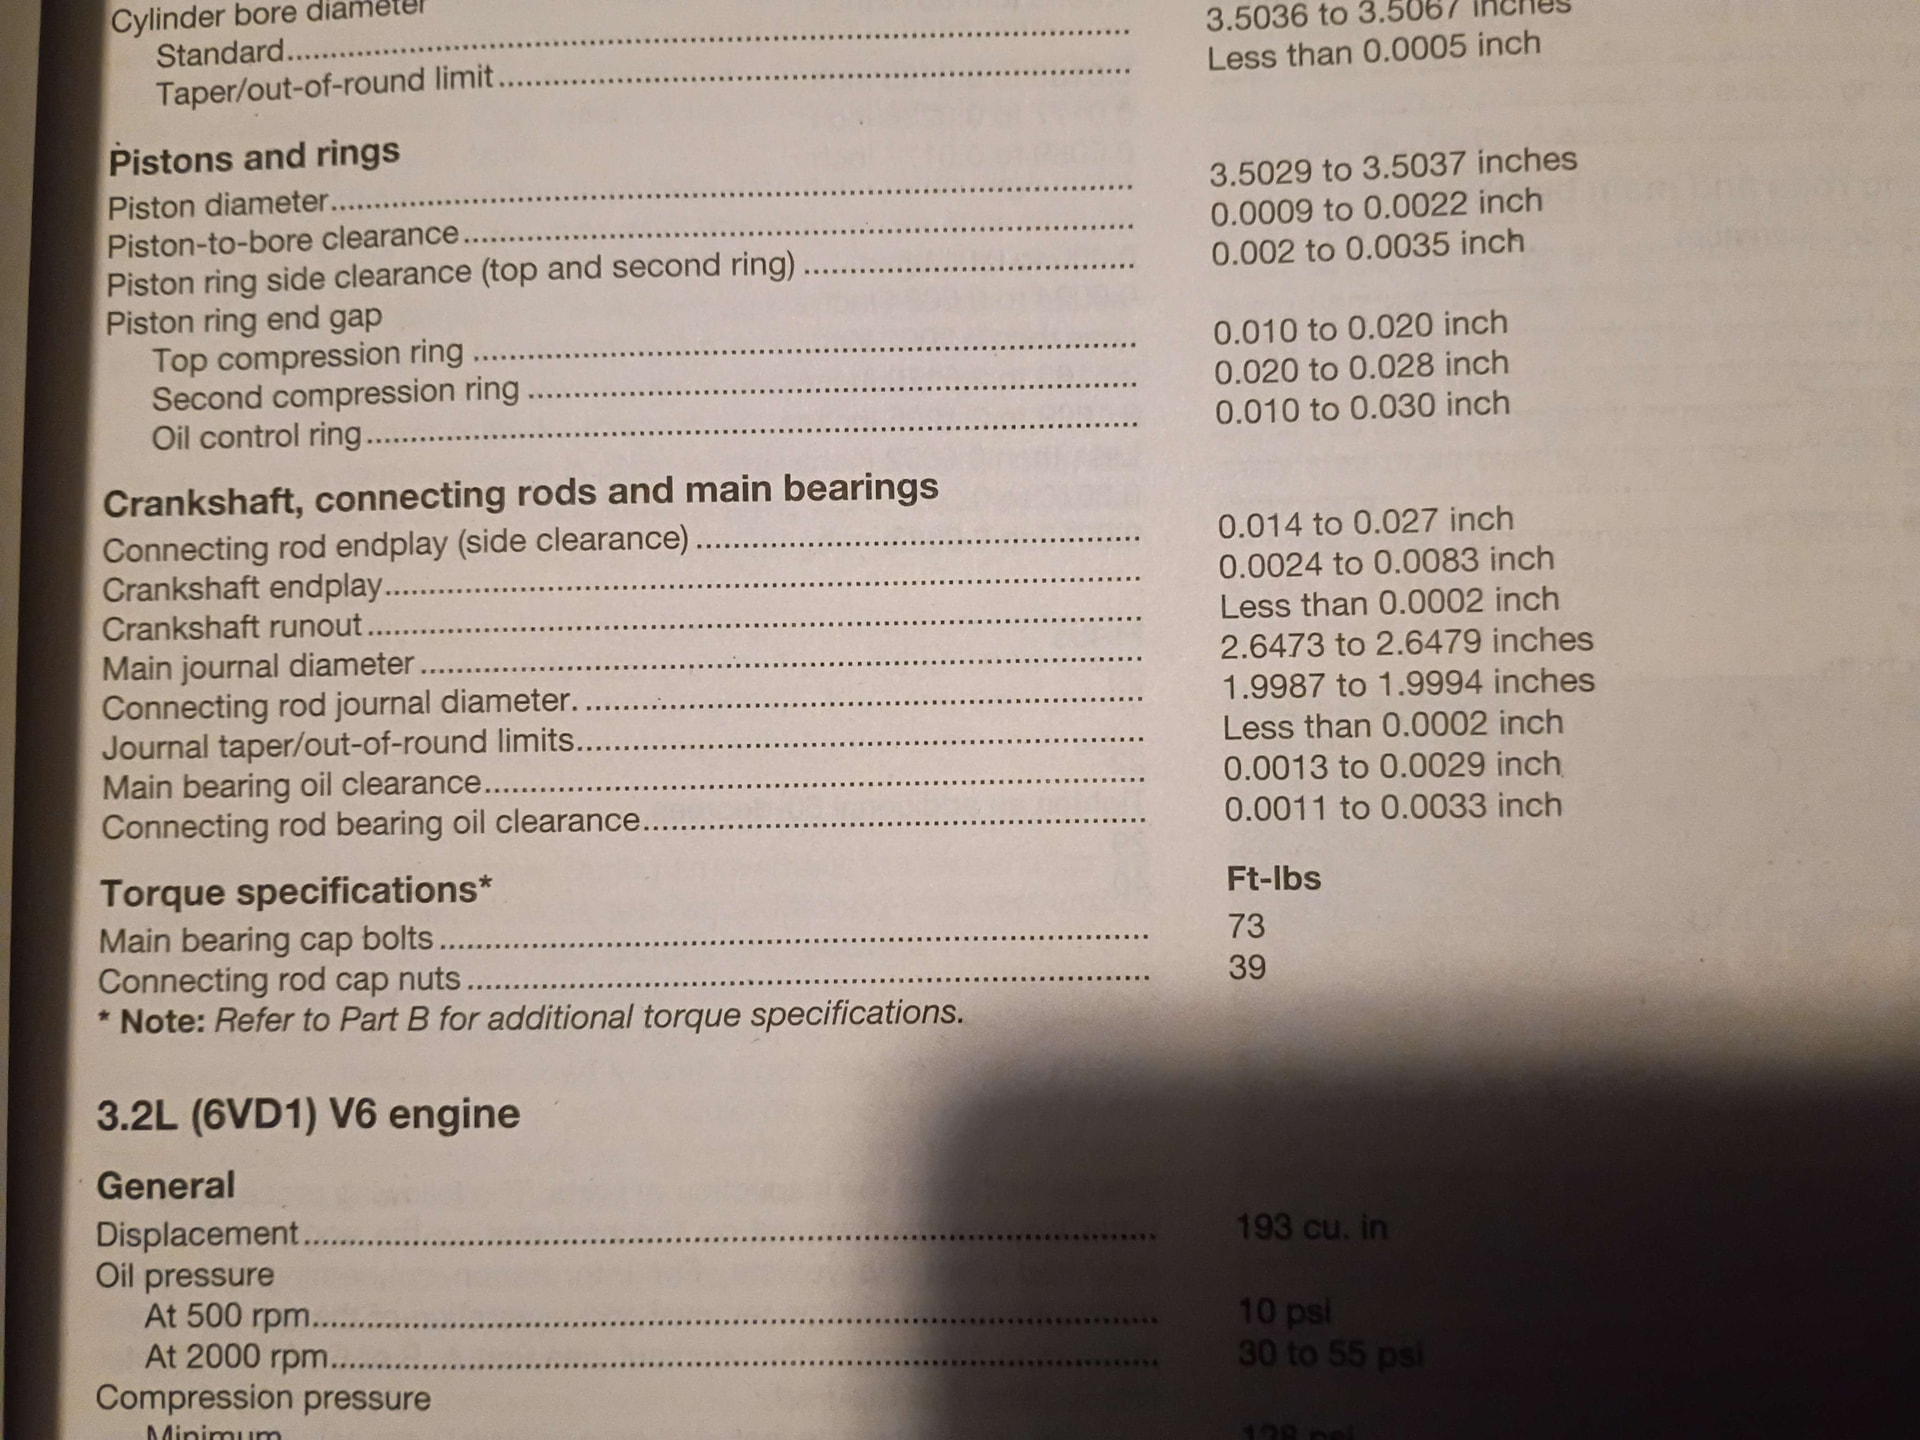
When I was checking bearing clearances I was referencing the specs listed in the Rodeo Haynes Manual for the 3.1… Im assuming the bottom end specs are the same for the 3.4? Far as I know its the same crankshaft? My quick lazy google search for torque specs and bearing clearances yielded a fairly wide variety of results, most were for newer 3.4s with “tighter” clearances than whats listed for the 3.1 so I dunno… here’s what I was going off of-

Yeah, top end looks pretty clean. IIRC you were going to replace the cam and lifters? If you don’t, be sure to turn the cam once you get the crank and timing set installed, and check every lifter to see if it rotates as the cam rotates. This indicates a good lifter and cam surface.

If there’s any lifter that doesn’t rotate, then likely the cam is flat. Or you have badly worn lifters. Note that lifters are supposed to be slightly convex where they ride on the cam. This helps to make the lifter rotate. Also the profile of the cam lobe. So any lifter thats concaved, is definitely Bad.

I did my 3.4 before I dropped the intake on, and was happy to see each lifter turn as it was being raised by its cam lobe. Have never had to touch the valve adustment in 24 years!

On the crank, yeah, that threading ain’t the greatest but I agree it would probably run quite a while with new bearings. IDK if that will polish out, but it certainly would clean up with a minimum of turning, maybe .010". Anyway, .010" or .020" ground undersize is just fine, with the appropriate bearings.

When you get it back, if they do grind it, be sure to ask if the thrust surfaces of the crank are standard, or also machined. Be sure to check the thrust clearance upon installation and also the crankshaft fore-aft free play.

On the specs, what you showed is a bit tighter than the original V6 Supplement manual specs. But pretty much in the average range.

Long as the clearances aren’t on the extreme tight end or extreme loose end, should be ok. A bit tighter clearances will give you better oil pressure. Be sure to replace the oil pump! M134 or equivalent.

Thanks ed!

Yup gonna replace the cam. I just sent that one to delta cams for their “248” grind and a set of new lifters to go with. They say it’s a mild enough cam to keep stock valve springs and spring retainers. I’m gonna throw on some 1.6:1 roller rockers but im leaving the springs alone.

Brought the crank to a machine shop and ended up just getting it polished. According to the folks at the machine shop its not necessary to have it turned for undersized bearings. Polishing wont remove all the visible scratches, but it’ll remove any sharp edges or high spots that could potentially damage new bearings. Any remaining grooves will hold a lil bit of oil but wont cause a problem. Allegedly it should be ready for pickup tomorrow!

All of my new gaskets are here so in theory I can start puttin this thing together soon!

It all sounds great! Nice to be able to talk to experienced people like Delta Cams and get real-world answers.

Should be a really good runner. Good news on the crankshaft!!

Oh absolutely! The one and only “Big John” himself at delta cams answered the phone and was an endless wealth of information regarding all things camshafts and valvetrain components. So incredibly nice to have a real person with real experience answer the phone in an age where robots have become the standard phone-answer-ers

The folks at B & R Speed Shop in Fairdale KY where I took my crankshaft where super helpful and friendly too! I don’t wanna hand out a rave review before I actually have the crankshaft back, but so far a great experience there too.

Just a random thought: If, when you go to check the main bearing clearances with the green plastic gauge stuff, you find the clearances are in spec but a bit on the “loose” side, pick yourself up a set of “3/4 groove” main bearing inserts.

I have old info (I think from Tom Currao’s V6 Bible), that 3/4 groove main bearings increase oil pressure by about 15 percent. And that’s a good thing! I assume that’s because the 3/4 Groove bearing has less “spillage”.

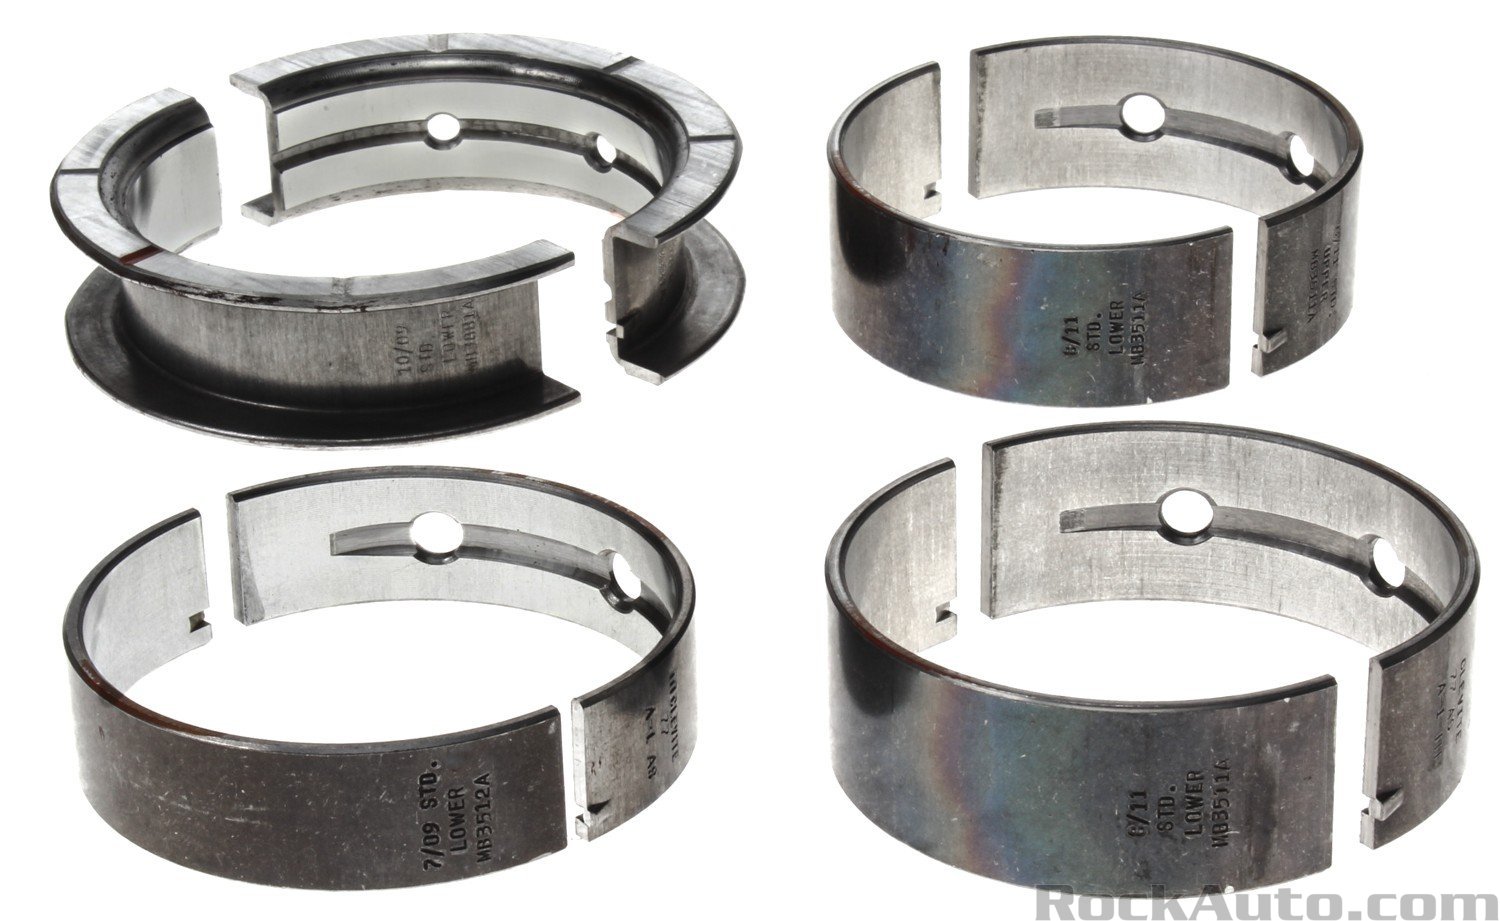
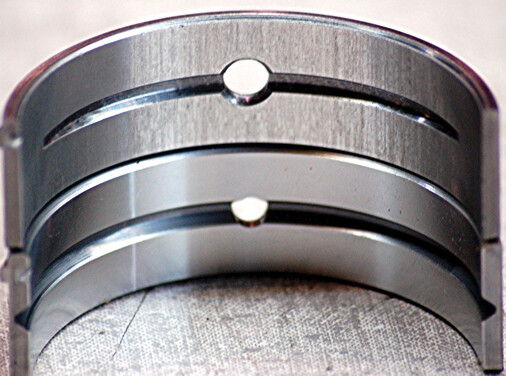
Looks like the Mahle and ITM bearings at Rockauto have 3/4 grooved inserts. I see (3) with grooves that don’t go all the way to the ends. The thrust bearing has a full groove. Note that the other halves of the bearing shells (the ones with no oiling holes) are just flat bearing material, no grooves.

I think that single-hole bearing pic is just generic, the 3.4 bearing shells show (2) holes. Here’s a good pic of the Mahle inserts:

And the generic pic showing the difference between the 3/4 groove bearing and fully grooved.

Another tip from Tom’s book: replacing the stock oil pump relief spring with GM P/N 10044435 will increase the oil pressure at which the relief pops open.

I was checking online and it appears this P/N was superceded by P/N 14024240. Both numbers are discontinued by GM but you can find NOS in a lot of different places. Here’s one on eBay, under $9 shipped:

https://www.ebay.com/itm/318570908384

I sure hope you’ve already picked up a Rodney Dickman Fieros starter relocation drilling kit. Because on Wed the 22nd he posted this to the drilling kit’s web page:

7-22-26: I have decided to discontinue sales on my webpage. We are only a few weeks from moving to Denver. I’m almost 70 years old now. When we get to Denver in September, I may or may not start up my webpage sales again. My webpage also, unfortunately, don’t work very well anymore.

You may have to make a template for the new holes, off the existing, passenger-side starter mounting holes. Use one or more of the oil pan bolt holes as a locating aid for the template; those holes are symmetrical side-to-side.

In my 3.4 swap info package, you’ll also find some old starter drilling templates. IDK if those will help or not, but they’re there.

So that’s a critical dimention.

The other challenge is, the outer bolt hole is gonna end up on a chamfer. Makes it pretty difficult to get the pilot hole started!!! So you really really have to be careful when measuring, laying it out, and doing the actual drilling. Believe me, I spent more than one sleepless night dealing with this back in 2002 when there was no drilling kit!!

Best thing to do is get the inner hole drilled and tapped. Then you can bolt up the starter so you can see what you’re up against on the outer hole.

Last but not least, when you’re all done, you need to check the starter-gear-to-flywheel-teeth engagement. It can’t be too loose or too tight. Starter shims for GM Small Block V8’s are the same as the ones used on this V6. So you can affect the gear engagement with those shims.

Good Luck and God Speed!..ed

p.s. there are drilling pics in the 3.4 swap info files. Search for “drill” or “hole”. Also search for “starter”. I’ll post some more stuff shortly.

Well, here’s shortly! The Dang Software won’t let me post 3 consecutive replies to this thread, so I have to edit a previous reply! HEY ADMIN, That Sucks!!! @cooltrainersamson can you fix that?? Thanks!!

Here are some old writeups that I should include in the swap info, but haven’t for some reason. Anyway, these guys were some of the 3.4 swap Pioneers, so there’s a lot of good info about free-handing the holes. Hairy Stuff!!!

3.4 BLOCK STARTER MOUNTING BOLTS DRILLING

Here’s some words from John Harris on the subject:

Drilling the starter mount was one of the easier tasks about this swap. I used a vernier caliper to measure the inside hole location. I found x and y and center punched the spot. I started with a 3/16 and then with a 25/64. The 25/64 only drilled only 1/4 inch deep. I then used a drill for the tap size. It all worked very well. I then mounted the starter and checked the pinion clearance and verified that it was the same as the old engine. Leaving the starter tightly bolted with the inside bolt, I then with very lite and careful pressure with max speed drilled the outside hole to the 1/4 depth and followed it with the tap drill. The outside starter bolt hole served as a guide for the bit to start into the block on the 45 degree angle. The starter sounds better then it ever did before. I reused the shim that was on the old 2.8. Remember that these special bolts are the line up for this starter. They require the proper relief in the block.
• Some of the tools I used were a torpedo level. vernier caliper, drill, tape to hold the level on the drill, an adjustable square, center punch, drills, metric tap. and some paper matches to check the mesh of the gears. I leveled the block on the garage floor and then used the level taped to the drill and the adjustable square to keep the drill plumb. I took the solenoid off the starter so that I could keep the drive out and engaged in the flywheel.

And an excerpt from a writeup by John G.:

Next came the biggest perceived hurdle of the 3.4L swap… The starter is on the wrong side! Apparently on the S-10 crate engine, moving the starter to the left is not an option. On the “S” block there is plenty of room and the undrilled reinforcement boss is clearly on the block. I had the old 2.8 handy and took a piece of paper and traced the starter boltholes, the contour of the tab, rear main cap, and the oil pan holes. The contour of tab you bolt the starter to on the 2.8 is slightly different on the 3.4, so I found it best to reference the rear main cap and the oil pan holes to locate where to drill the new starter holes. Also, bolt up the flywheel and position the starter to see if they are going to line up. Remember what your dad told you…measure twice and cut once!!! Not much room for a second chance here. The outermost hole is somewhat tricky, because you have to drill into a 45-degree angle. Just start perpendicular to the flat, then rotate up. Tap out the holes. I bolted the starter & flywheel up on the stand and cranked it over (battery + jumper cables) to make sure it was going to work. It fit like a UAW worker did it himself, well actually a lot better than that (joke).

I’m on it :saluting_face:

fixed!

Thanks! You’re Way better than VerticalScope!! :rofl:

Sorry @merv04965 I think I bought the last 16-232-4 last christmas for my 3.4 project.
Sub’d because I’ll get to mine eventually. We did just put the body back down on my clean frame last weekend though!

Gonna be a point when Comp Cams just stops making any parts for the Stone-Age V6!

At least we still have good ol’ reliable Delta Camshaft!!